Pixel Masking
You can use the Pixel Masking tool to correct hot pixels in recorded footage. Once you pick a pixel to mask, the pixel is masked for all frames in the clip. To apply a pixel mask from one clip to another clip, both clips need to be from the same camera and recorded at the same resolution.
NOTE: Pixel masking is not available for cameras with MONOCHROME or DRAGON MONOCHROME sensors and does not apply to R3D trim exports.
Apply Pixel Masking
To apply pixel masking, follow the instructions below:
- Drag a clip to the Bin.
- Load a clip with a hot pixel to the Viewer.
- Ensure the following:
- Set debayer to Full.
- Disable RED ROCKET and RED ROCKET-X.
- Set Crop to No Crop in the Framing Control panel.
- Set Fit to Fit Width in the Framing Control panel.
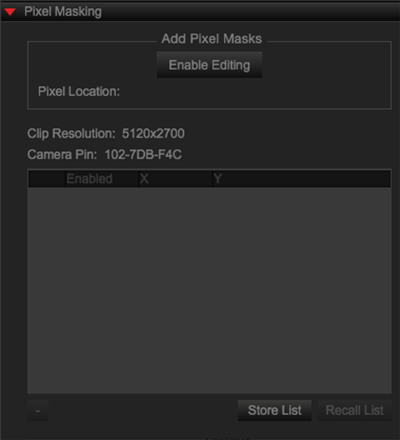
- Add the Pixel Masking tab to a panel.

Figure: Add Pixel Masking Tab
- Click Enable Editing under Add Pixel Masks.

Figure: Enable Editing
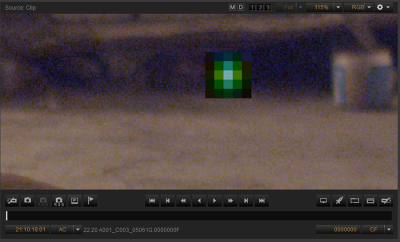
- Zoom in on the hot pixel.
- Double-click the center of the hot pixel.

Figure: Double-Click Hot Pixel
- The coordinates of the pixel display under Pixel Masks. You can enable and disable the pixel mask by selecting and deselecting the Pixel Mask check box, respectively.
Save Pixel Mask List
To save a pixel mask list, follow the instructions below:
- Go to the Pixel Masking panel.
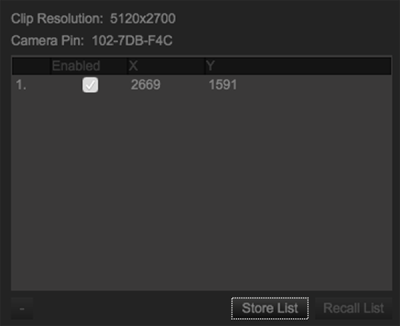
- Click Store List.

Figure: Store List
Load Pixel Mask List
To load a pixel mask list, follow the instructions below:
- Go to the Pixel Masking panel.
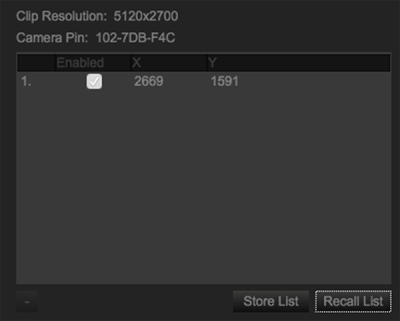
- Click Recall List.

Figure: Recall List