Export with Presets
You can use Export Presets to speed up your workflow.
To batch export with an Export Preset, follow the instructions below:
- Load clips into your project.
- Go to the Export tab or the Export Workroom.
- Select the Export Preset that you want to use.
For more information, go to Add Export Preset.

Figure: Select Export Preset
- Select Bin (all clips).
- Click Export.
The File Directory dialog displays.
- Select a File Directory destination.
- Click Open.
Clips are placed in the render queue in the Export tab or in the Export Workroom and export automatically by default.

Figure: Clips in the Render Queue
NOTE: You can change the render options in Preferences > Transcode.
NOTE: You can arrange the order in which the clips export by clicking ![]() .
.
Add Export Preset
To add an Export Preset, follow the instructions below:
- Click
 (Add Export Preset).

Figure: Add Export Presets
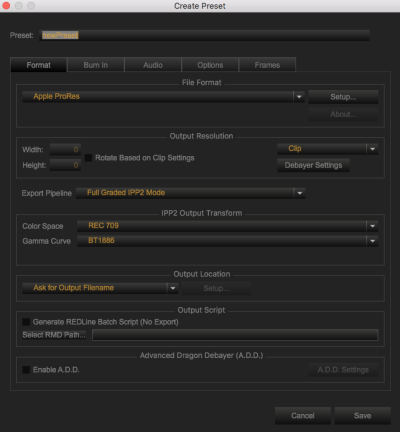
- In the Preset text box enter a name for your preset .
- Select the desired export preset settings.
- Select a file format from the File Format drop-down menu.
- Click Save.

Figure: Create Preset
Delete Export Presets
- Select the Export preset that you want to delete.
- Click
 (Remove) to delete the Export Preset.
 - Click Yes.