Remove Lens Mounts
NOTE: You can change lens mounts in the field. However, RED recommends that you change lens mounts only in a dust-free environment.
REQUIRED TOOL(S): T20 TORX® driver
- Turn off the camera.
- Attach the camera to a stable platform or position the camera on a clean and level work surface so that the lens mount screws are accessible.
- Remove the lens and any camera modules, cables, or other accessories that might interfere with removing the lens mount.
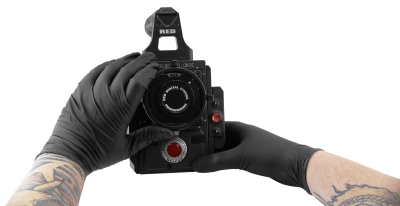
- If removing the DSMC Mg PL Mount 2.0, turn the locking ring slightly counter-clockwise so that you can access the lens mount screws.

Figure: Turn Locking Ring Counter-Clockwise
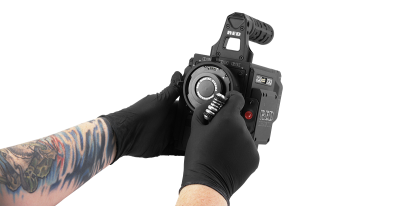
- Loosen and remove the four (4) M4x0.7 x 8 mm lens mount screws in a cross pattern (“X” pattern) using a T20 TORX driver.
NOTE: Some lens mounts have captive screws that are not removable.
NOTE: Screw removal may require a large handle T20 TORX driver and additional leverage.

Figure: Remove the Lens Mount Screws
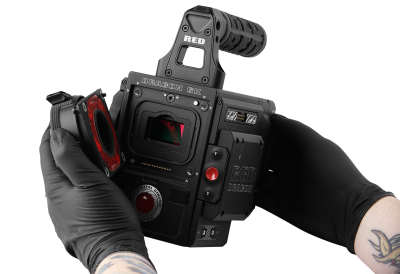
- Remove the lens mount from the camera.

Figure: Remove the Lens Mount
NOTE: When the MOTION MOUNT is not in use the rear glass is blue. During operation the rear glass turns yellow. If you remove the MOTION MOUNT shortly after operation, the glass turns yellow and develops blue spots. As the glass cools, it returns to its original blue color. This color transition is typical behavior.