Format Media In-Camera
IMPORTANT: Ensure that data is backed up before formatting media, since formatting erases all data on the SSD.
NOTE: The procedure below is specific to firmware v6.4. The procedure may change based on your camera firmware version.
- Insert the RED® SSD into the media slot on a media module with the RED logo facing outward (away from camera body).
NOTE: When fully inserted, the SSD protrudes slightly from the SSD slot.
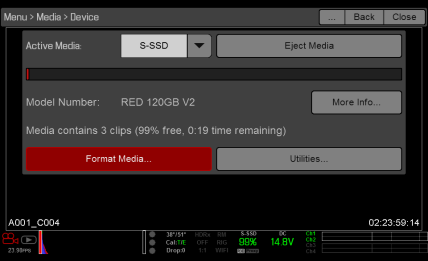
- Go to Menu > Media > Device.
- Select an option from the Active Media drop-down menu.
-
Select Format Media....

Figure: Format Media
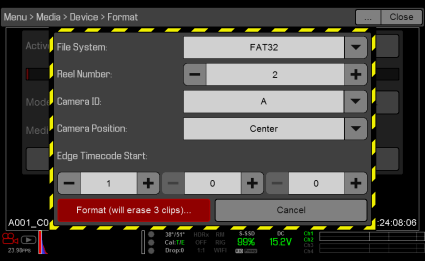
- Select FAT32 or UDF from the File System drop-down menu.
- Select the following options to add camera identity information and 3D position properties:
- Reel Number: Select a value in the range 1–999.
- Camera ID: Select a letter in the range A-Z to identify the camera.
- Camera Position: Identify the camera position as Right, Left, or Center.
- Edge Timecode Start: Manually enter an Edge Timecode Start value (seldom used).
- Select Format.
NOTE: The Format button also displays the number of clips that are deleted during formatting, if any clips are on the media.

Figure: Format Details
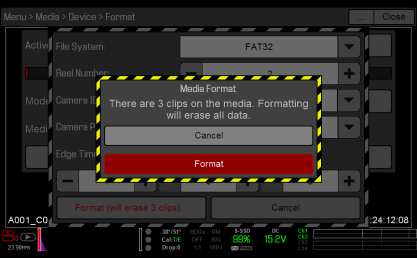
- Select Format to continue.

Figure: Media Format Message
Formatting takes about 10 seconds. Once formatting is complete, the Viewfinder output(s) display the following message: “The media was successfully re-formatted and is ready for immediate use”.
Secure Format Media
Secure format is a low-level format that rebuilds the SSD file system. It should only be used if the performance of the SSD is in question.
IMPORTANT: Ensure that data is backed up before formatting media, since formatting erases all data on the SSD.
To perform a secure format, follow the instructions below:
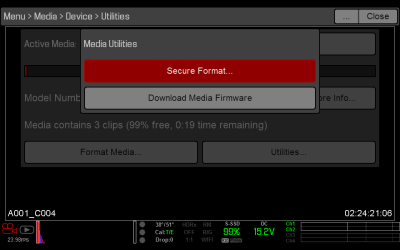
- Go to Menu > Media > Device > Utilities....
- Select Secure Format....

Figure: Secure Format
- Continue to format the media as you would for a normal media format. For more information, go to Format Media In-Camera.