Upgrading the Firmware
You can receive the best performance from your camera by installing the latest firmware. Make a habit of frequently visiting RED Downloads to check for new versions of camera firmware, updated operation guides, and post-production software.
Verifying the Firmware Version
To view the firmware version that is currently installed on your camera, open Menu > System Settings > System Status > Camera Info:
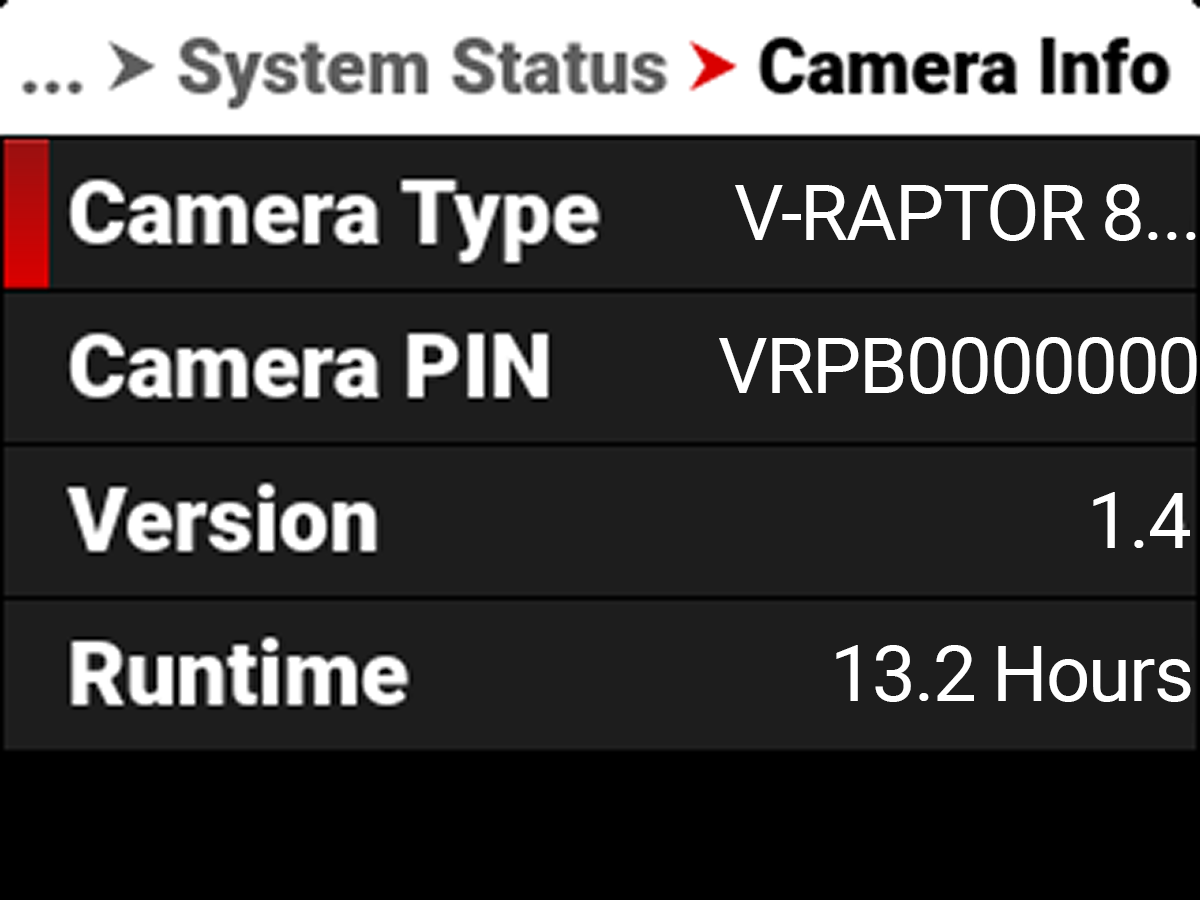
Version displays the currently installed camera firmware. A higher number reflects a newer release.
Upgrading the Firmware
Install the most recent firmware. Unless otherwise specified in the release notes, you do not need to upgrade to any firmware in between your current version and the most recent version available online.
NOTE: You must calibrate the sensor after upgrading the camera. For more information, refer to Calibrating the Sensor.
- Download the most recent firmware for your camera from RED Downloads.
- Unzip the firmware zip file.
- In the unzipped folder, navigate to the upgrade folder.
- Copy the upgrade folder and its contents to the root level of the CFexpress media card directory.
- Unmount the CFexpress media card from your computer and remove the media card from the media reader.
- Insert the CFexpress media card in the camera.
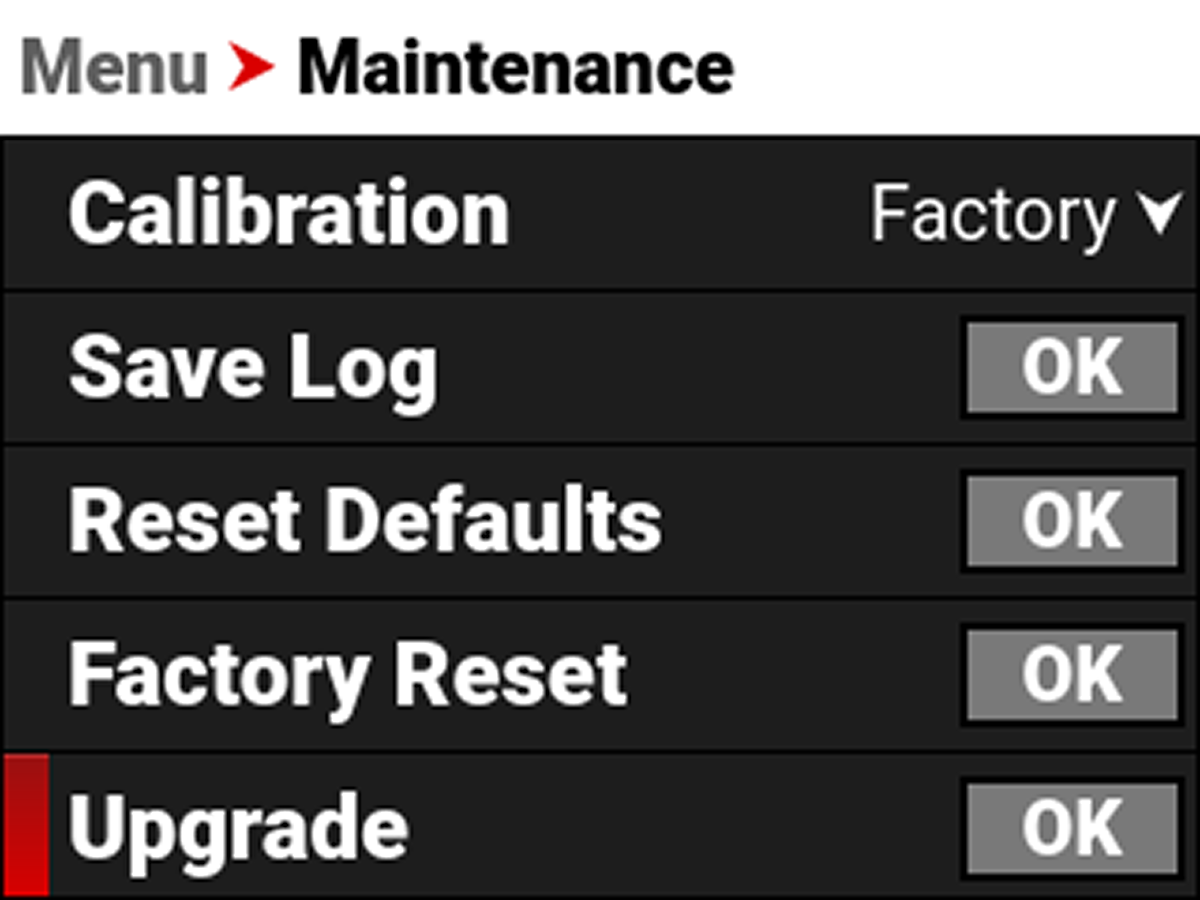
- From the camera UI, navigate to Menu > Maintenance.
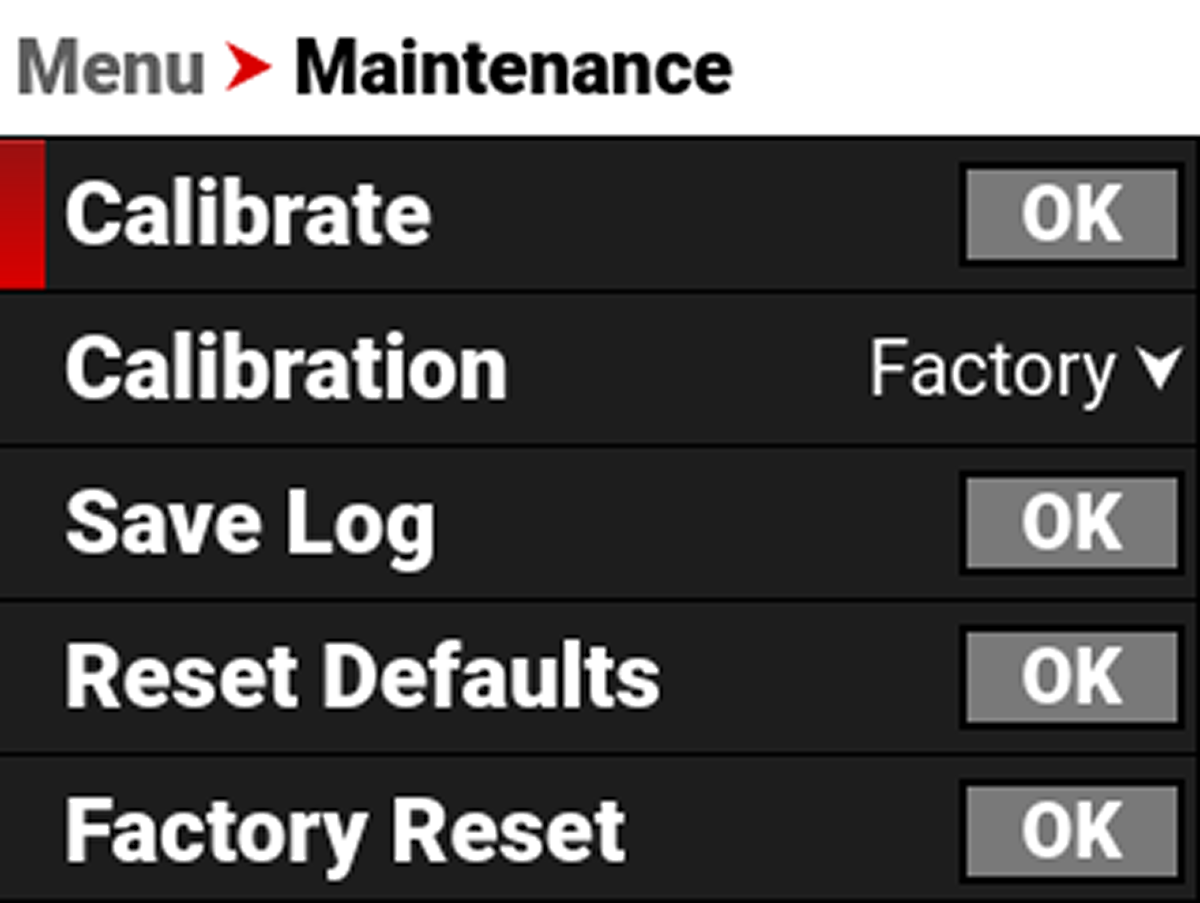
- From the Maintenance menu, navigate down to Upgrade and press SEL.
The Firmware Upgrade confirmation screen displays:
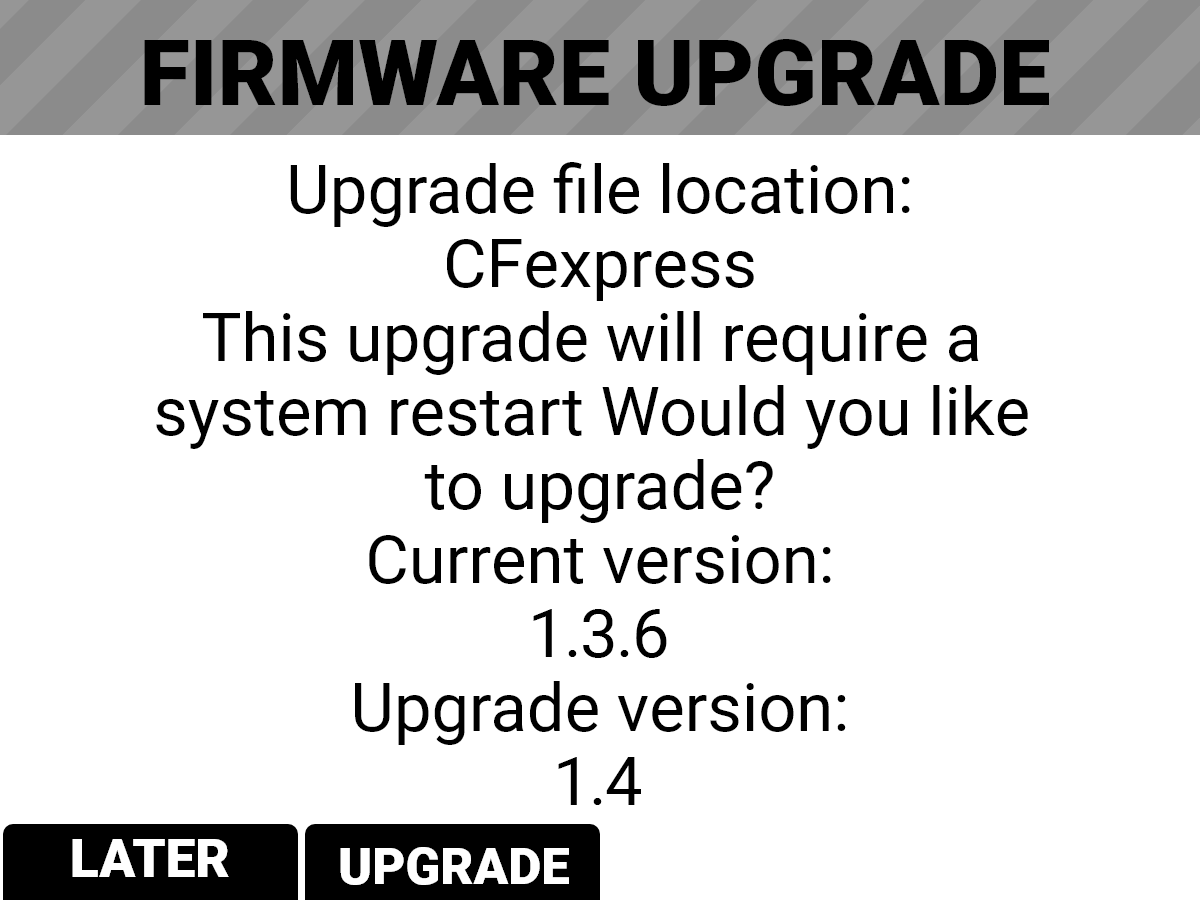
- Press the button under UPGRADE to confirm. The Firmware Upgrade progress screen displays:
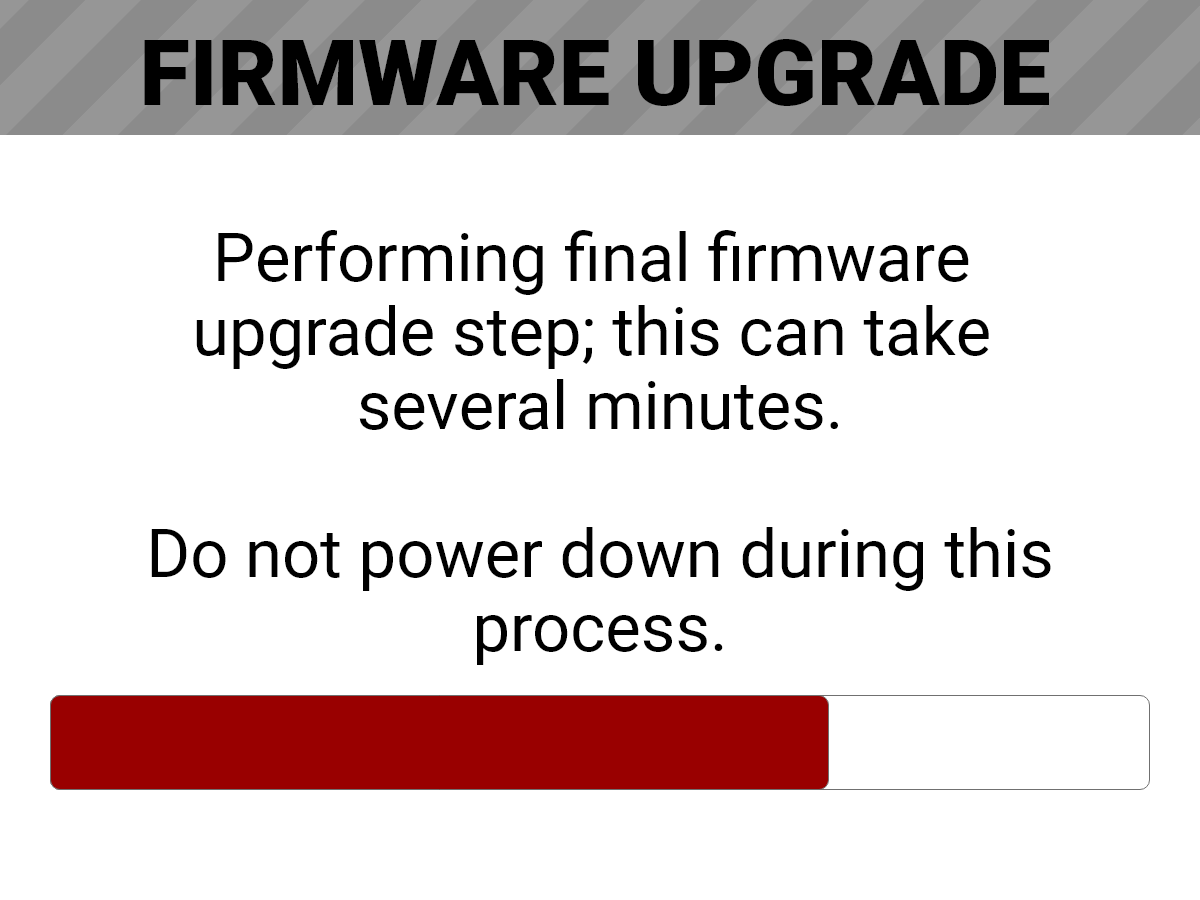
During the upgrade, the fans run at high speed and the following occurs:
- The camera displays the SHUTTING DOWN screen and reboots
- The camera restarts and displays the UPGRADING screen
- The camera displays the INITIALIZING screen
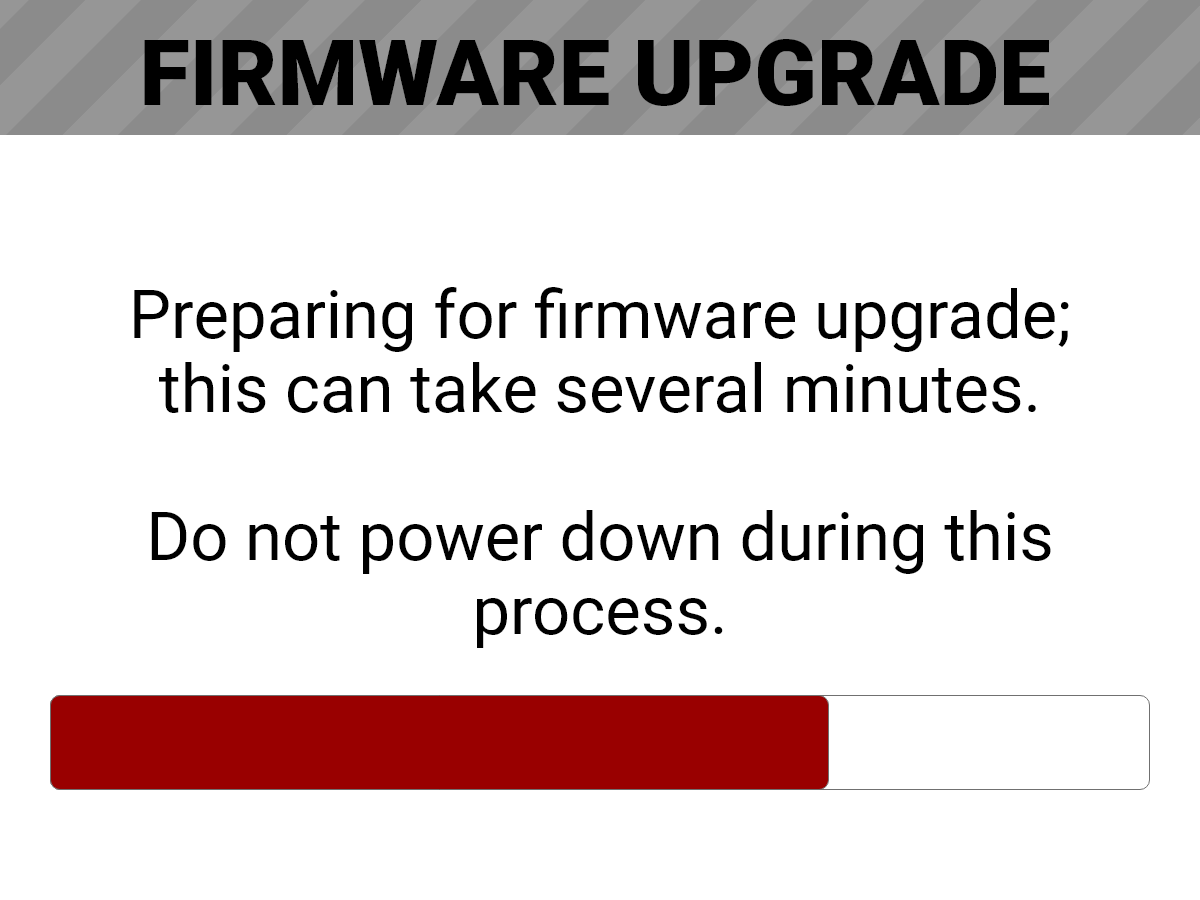
- The camera displays the FIRMWARE UPGRADE progress screen:
The Firmware Upgrade success message screen displays with a RESTART button:
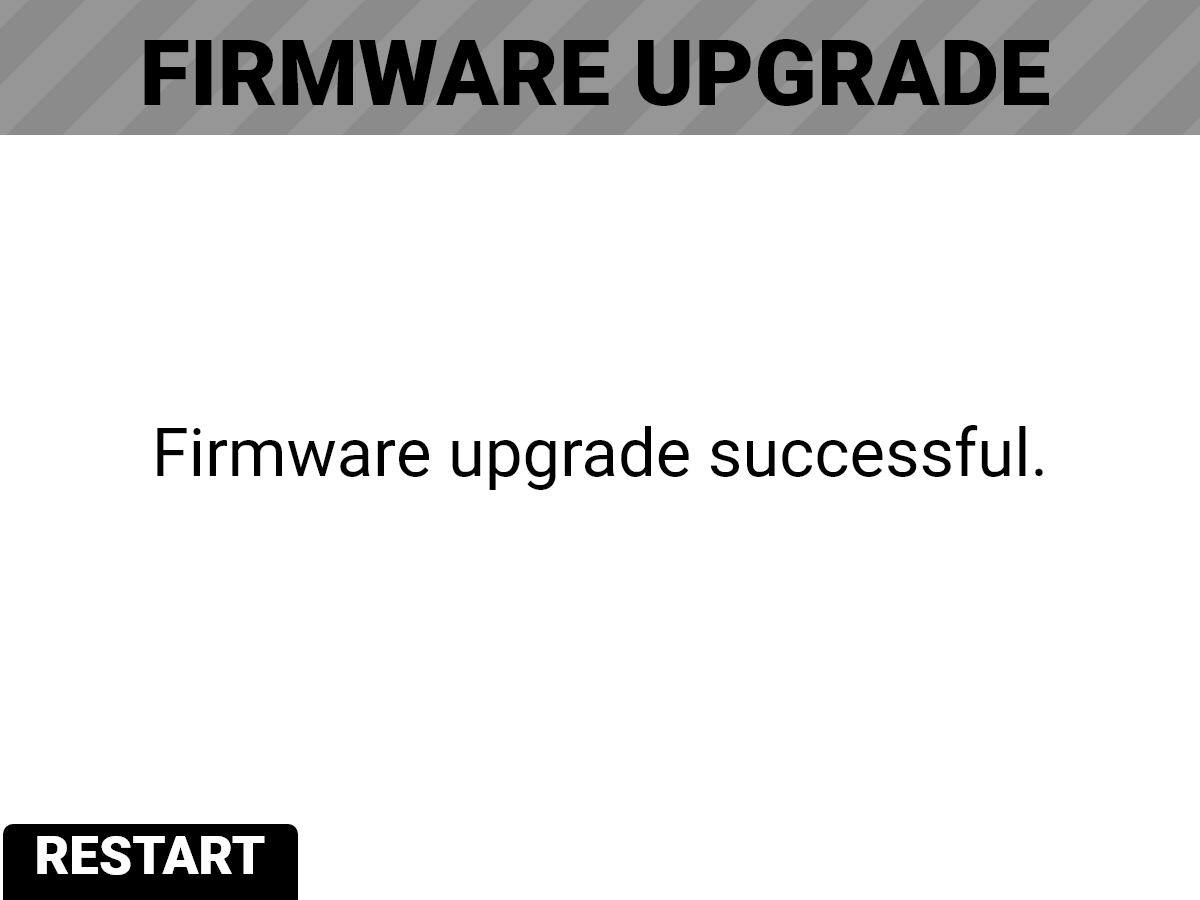
- Press the button under RESTART. The camera displays the SHUTTING DOWN screen and reboots again.
- The camera restarts displaying the V-RAPTOR 8K
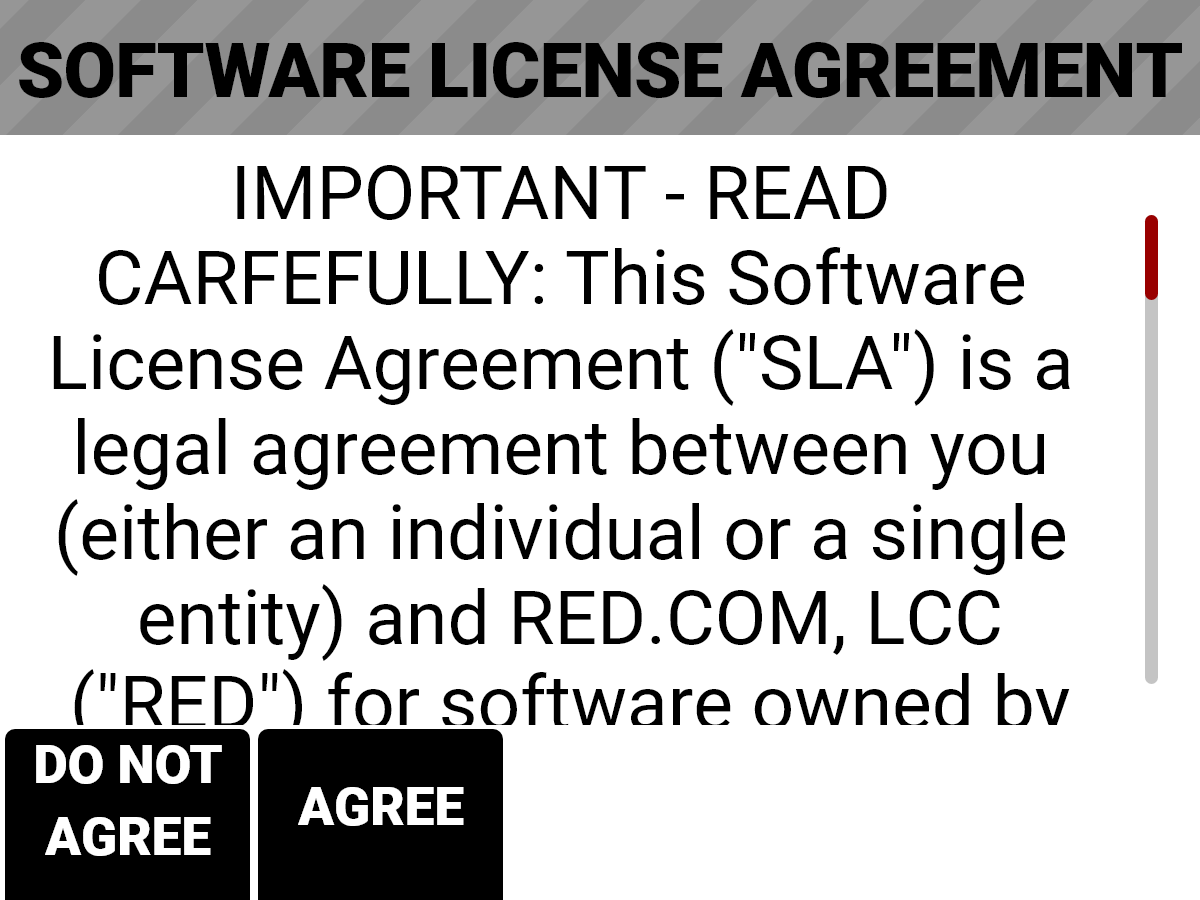
- Press the button under Agree. If you do not agree to the SLA, the camera cannot be used. The SLA continues to display until it is accepted.
- Recalibrate the camera before recording. Refer to the Calibration section and Calibrating the Sensor for more information.