V-RAPTOR® XL Top Handle and Extensions
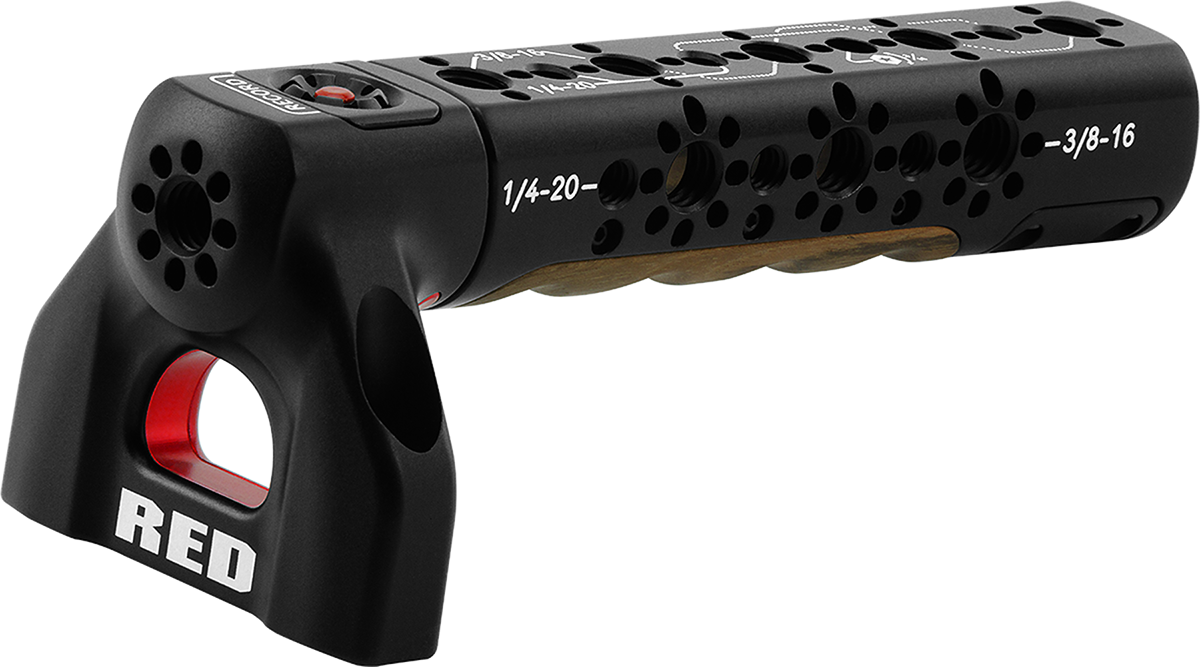
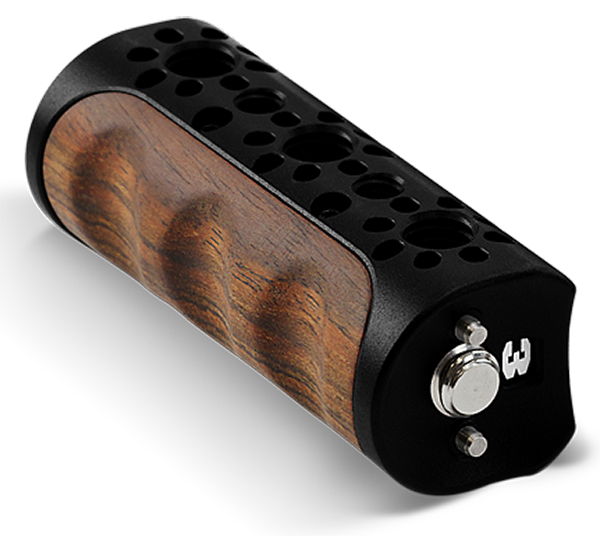
The V-RAPTOR XL Top Handle easily mounts to the top of the V-RAPTOR XL while offering a combination of comfort and utility for carrying or shooting clips with your camera. This top-mounted machined handle features ergonomic Bocote wood inlays with camera trigger control. It also can be configured in multiple ways when used with the Top Handle Extension Kit and includes multiple 1/4-20 and 3/8-16 threads.
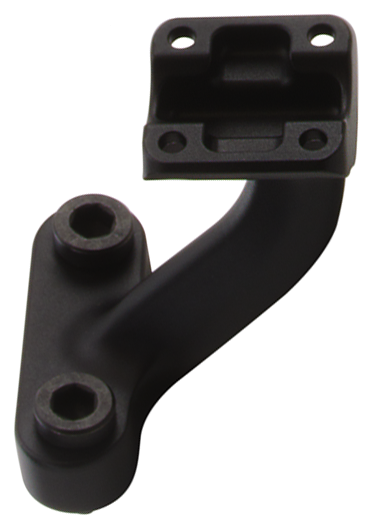
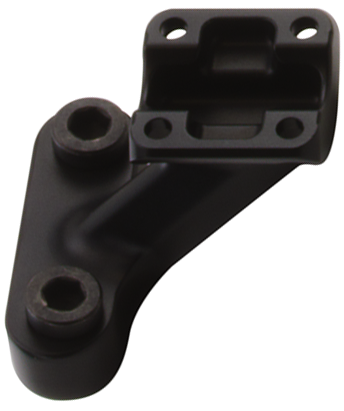
The Top Handle and Extension kit includes:
|
|
|
|
|
|
|
|
For replacement or additional components, such as screws, contact support@cs.inc.
COMPATIBILITY: The V-RAPTOR XL Top Handle is not compatible with DSMC®, DSMC2® or RED RANGER® camera systems.
Installing the Top Handle
The versatile V-RAPTOR XL Top Handle's modular design allows you to create a number of configurations including full wrap around configurations or compact setups.
Monitor and monitor hood mounted to the front of the RMI configured Top Handle with an RMI long support:
Installing the top handle on the V-RAPTOR XL
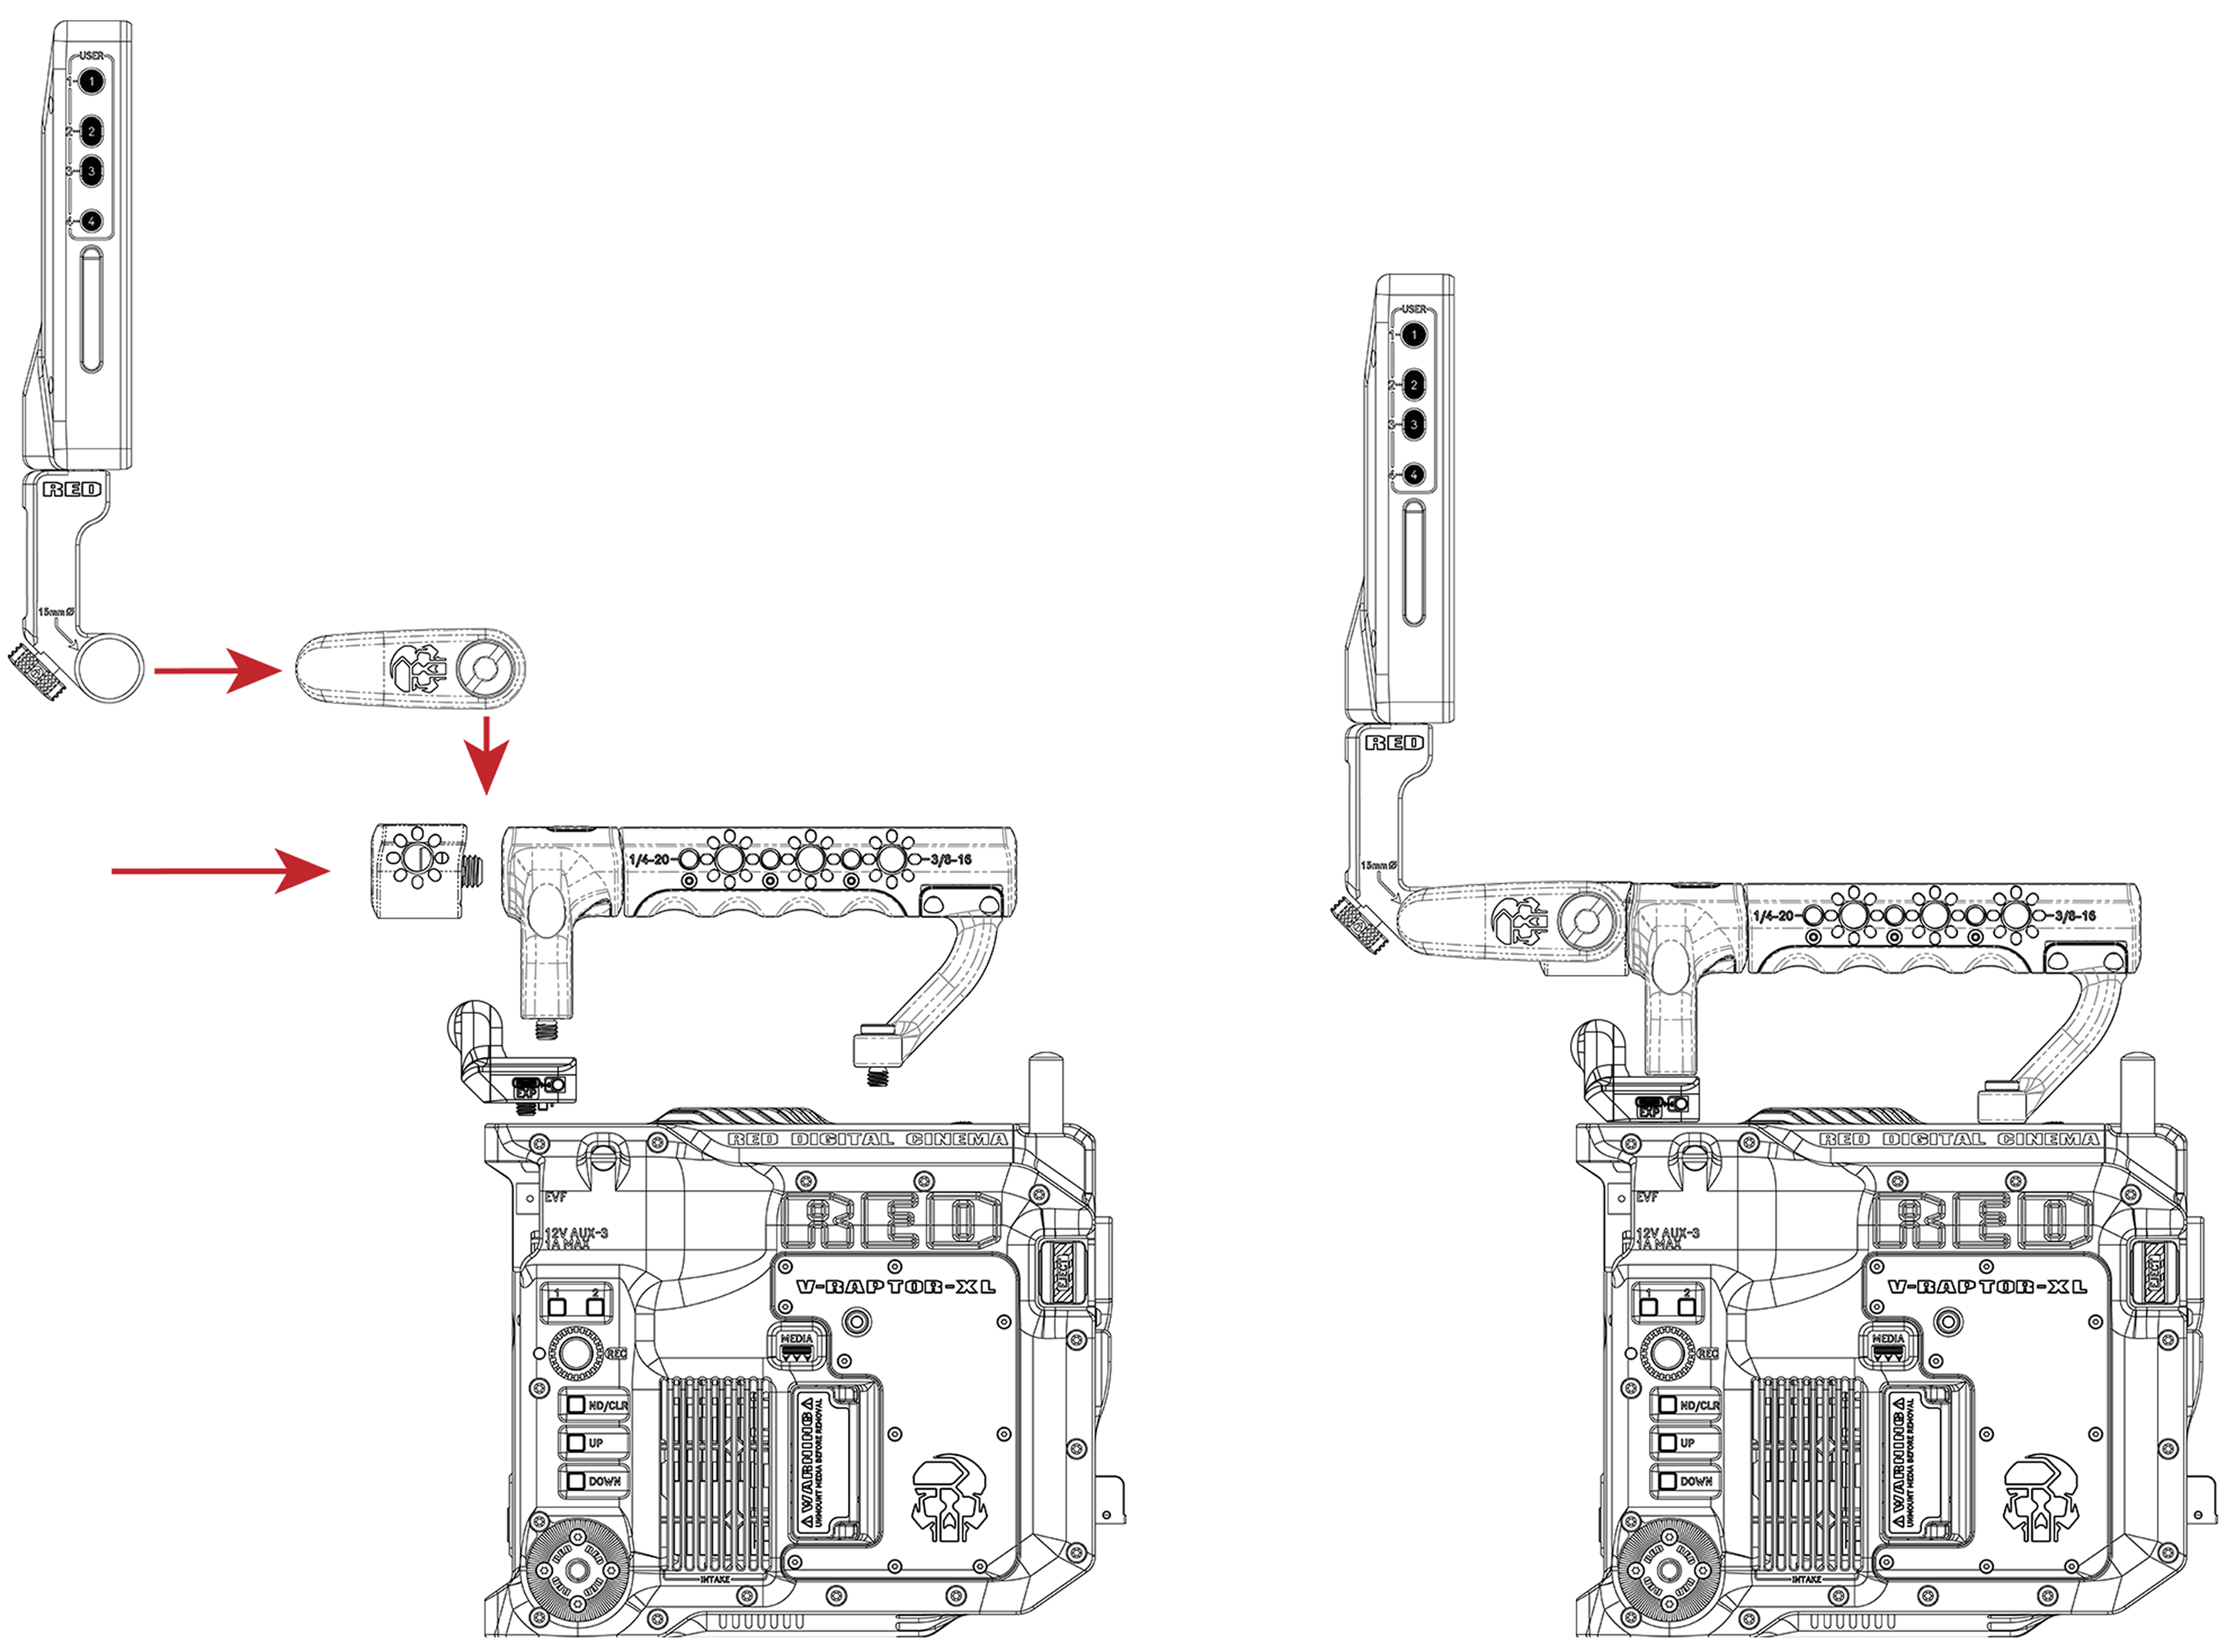
To install the Top Handle on the top of the V-RAPTOR body:
- Attach the Upright to the Standard Extension.
- Attach the Short Support to the bottom of the Standard Extension.
- Align the Top Handle hex bolts with the top 1/4-20 mounting holes on the top of the V-RAPTOR XL body.
- Tighten the four hex bolts to the V-RAPTOR XL body.

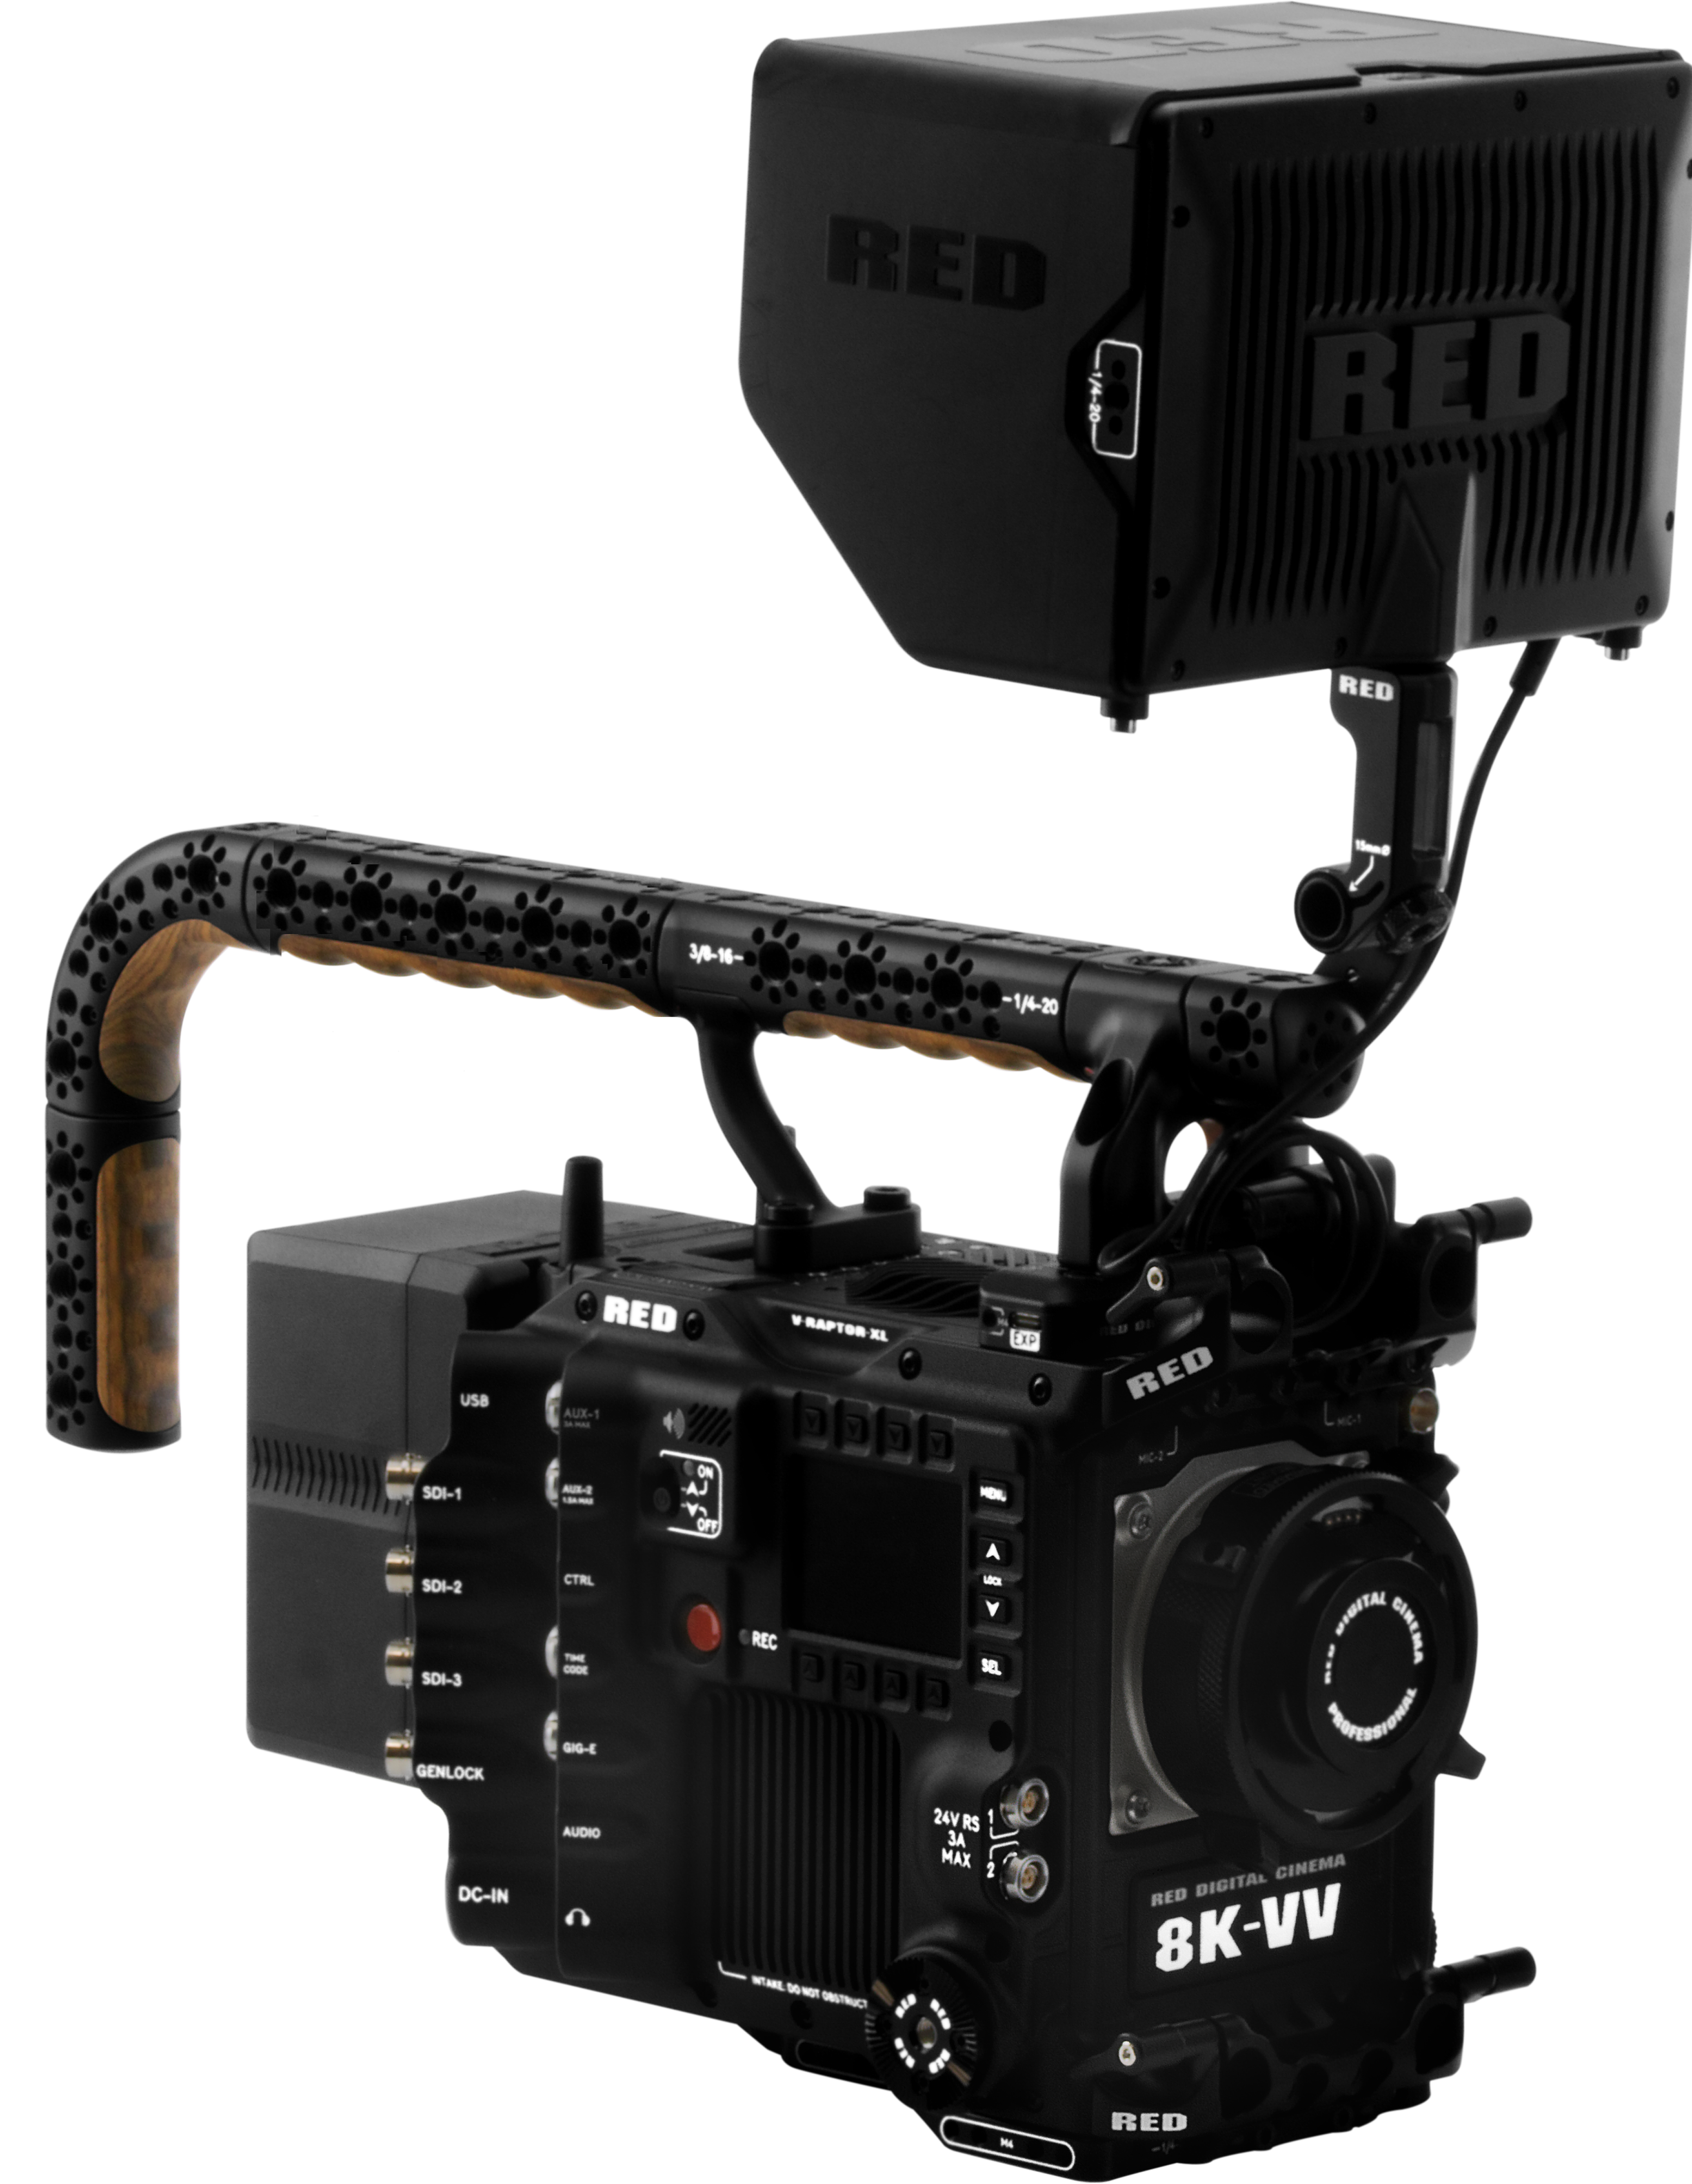
Installing the DSMC3™ RED® Touch 7.0" LCD on the top handle
To install the RED Touch LCD to the Top Handle:
- Install the RMI to the top of the camera.
- Assemble the Top handle with the RMI long support.
- Install the Top Handle to the top of the RMI in front and the camera in back.
- Align a Top Handle Extension (1" extension shown here) with the front of the Top Handle.
- Tighten the hex bolt to the Top Handle.
- Align the 15 mm Monitor Mount extension bolt with the side 3/8-16 mount hole of the Top Handle extension.
- Tighten the Monitor Mount bolt to the Top Handle extension.
- Align the 15 mm hole on the Monitor rail to the 15 mm Monitor Mount.
- Slip the 15 mm Monitor rail collar over the 15 mm Monitor mount post and tighten the knurled knob on the Monitor rail to the desired monitor position.
- Install the RMI monitor cable.