Audio / TC Menu
|
This section includes: |
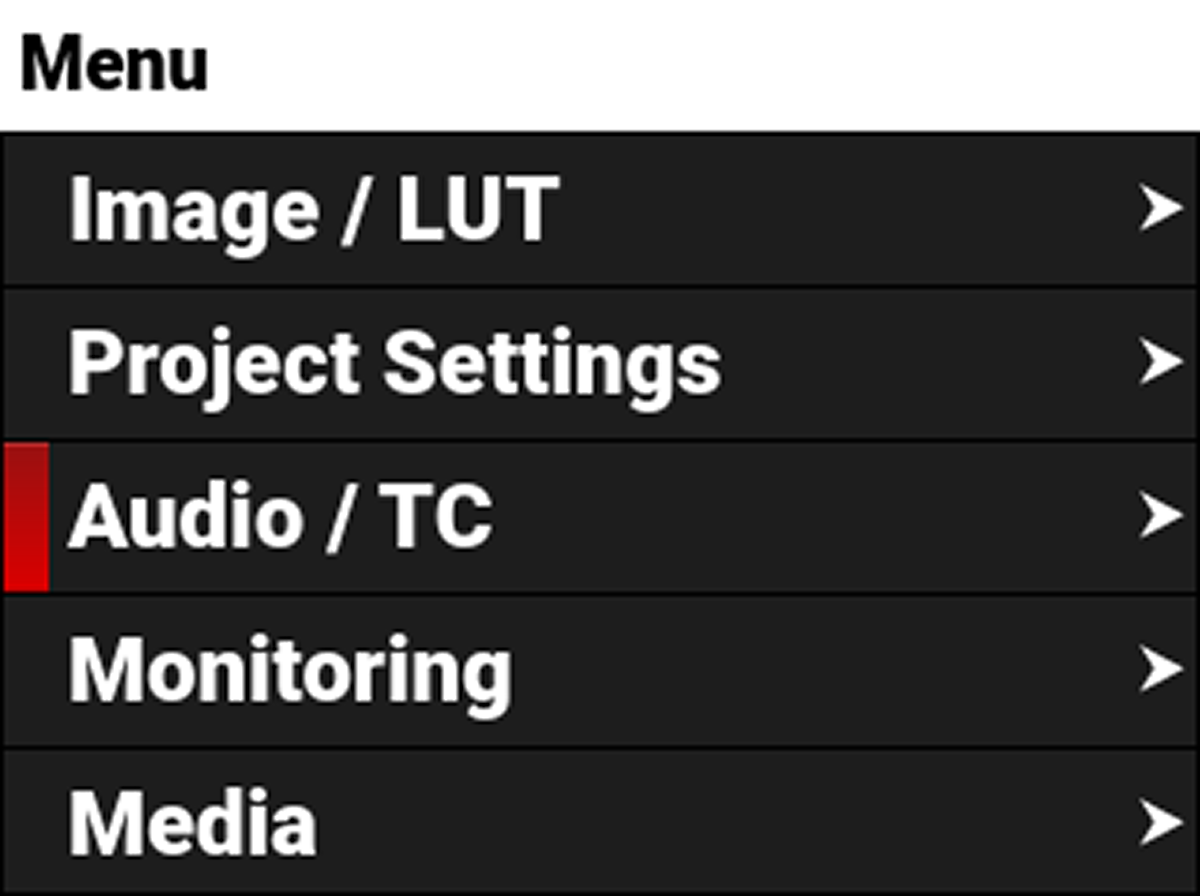
The Audio / TC menu contains the settings you use to configure your camera audio and Timecode.
From the camera LCD menu, navigate to Audio / TC and press SEL:
Audio Details
The camera is equipped with two integrated microphones suitable for scratch-track audio (Ch 1 and 2), and it is equipped with a 5-Pin LEMO audio connector that accepts 2-channel audio, Line, Mic, and +48V Phantom Power for external audio (Ch 3 and 4).
You can link the gain for the two internal channels together and you can link the two external channels together. This allows you to adjust the two internal (or external) channels together as one.
You can record audio from the internal microphones, from the external audio connector (2-channel recording), or from internal and external sources combined as 24-bit 48 kHz uncompressed audio tracks.
You can adjust the external audio by using the appropriate camera gain-settings (-52.5 dB to 36.0 dB). The default camera gain setting is 1 dB.
The camera's audio data is synchronized with video and timecode, and it is embedded in the R3D file. You can export the audio data as separate audio files by using REDCINE-X PRO, if needed. The camera also embeds the audio in the SDI output.
You can monitor the audio during recording and playback by using the equipped 3.5 mm stereo headphone port.
SDI Audio
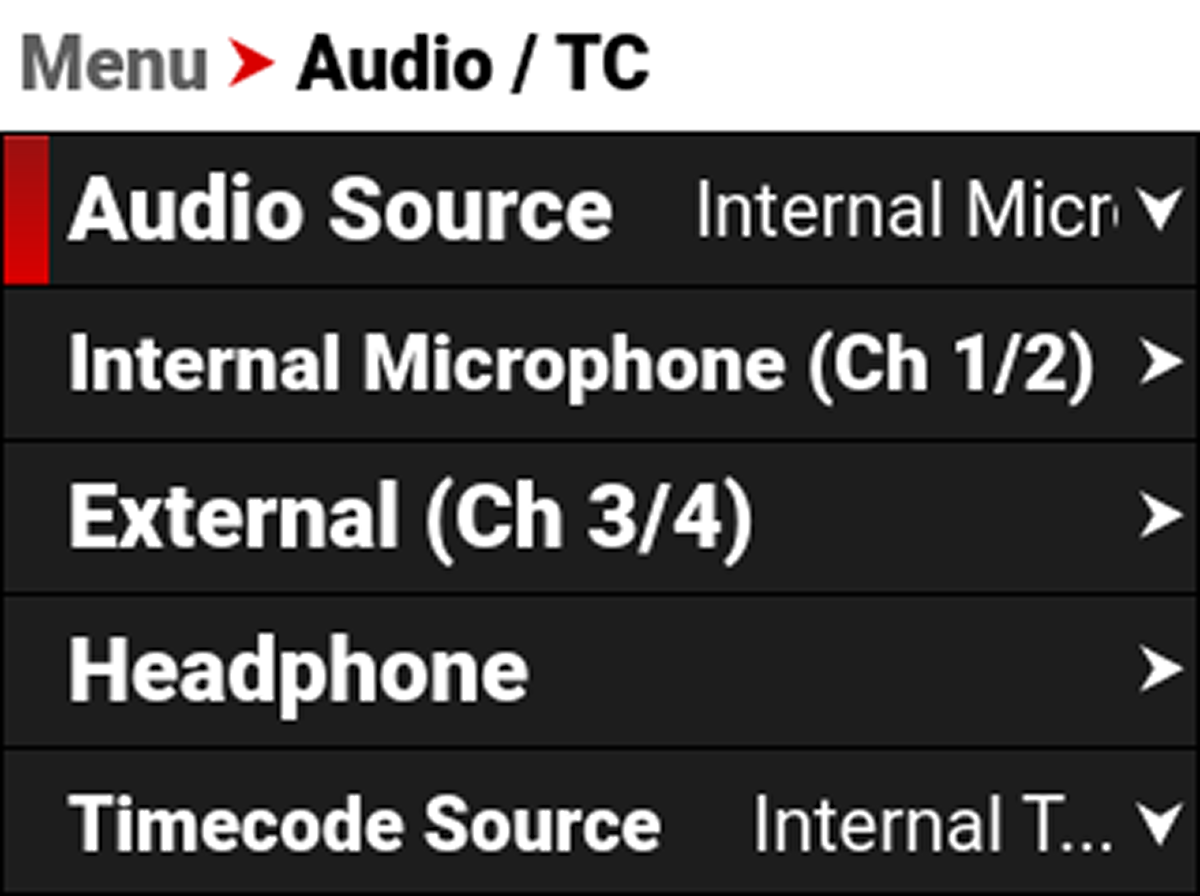
When you select Internal Microphone (Ch 1/2) as the audio source, the camera uses SDI channels 1 and 2 for the Internal Microphone signal. When you select External (Ch 3/4), the camera uses SDI channels 1 and 2 for the External audio signal. When you select Internal + External, the camera uses SDI channels 1 and 2 for the Internal Microphone signal, and the camera uses SDI channels 3 and 4 for the External audio signal.
Varispeed Audio
This camera has the ability to record audio when the camera's Recording Frame Rate is set to a higher speed than the Project Time Base setting (Varispeed mode).
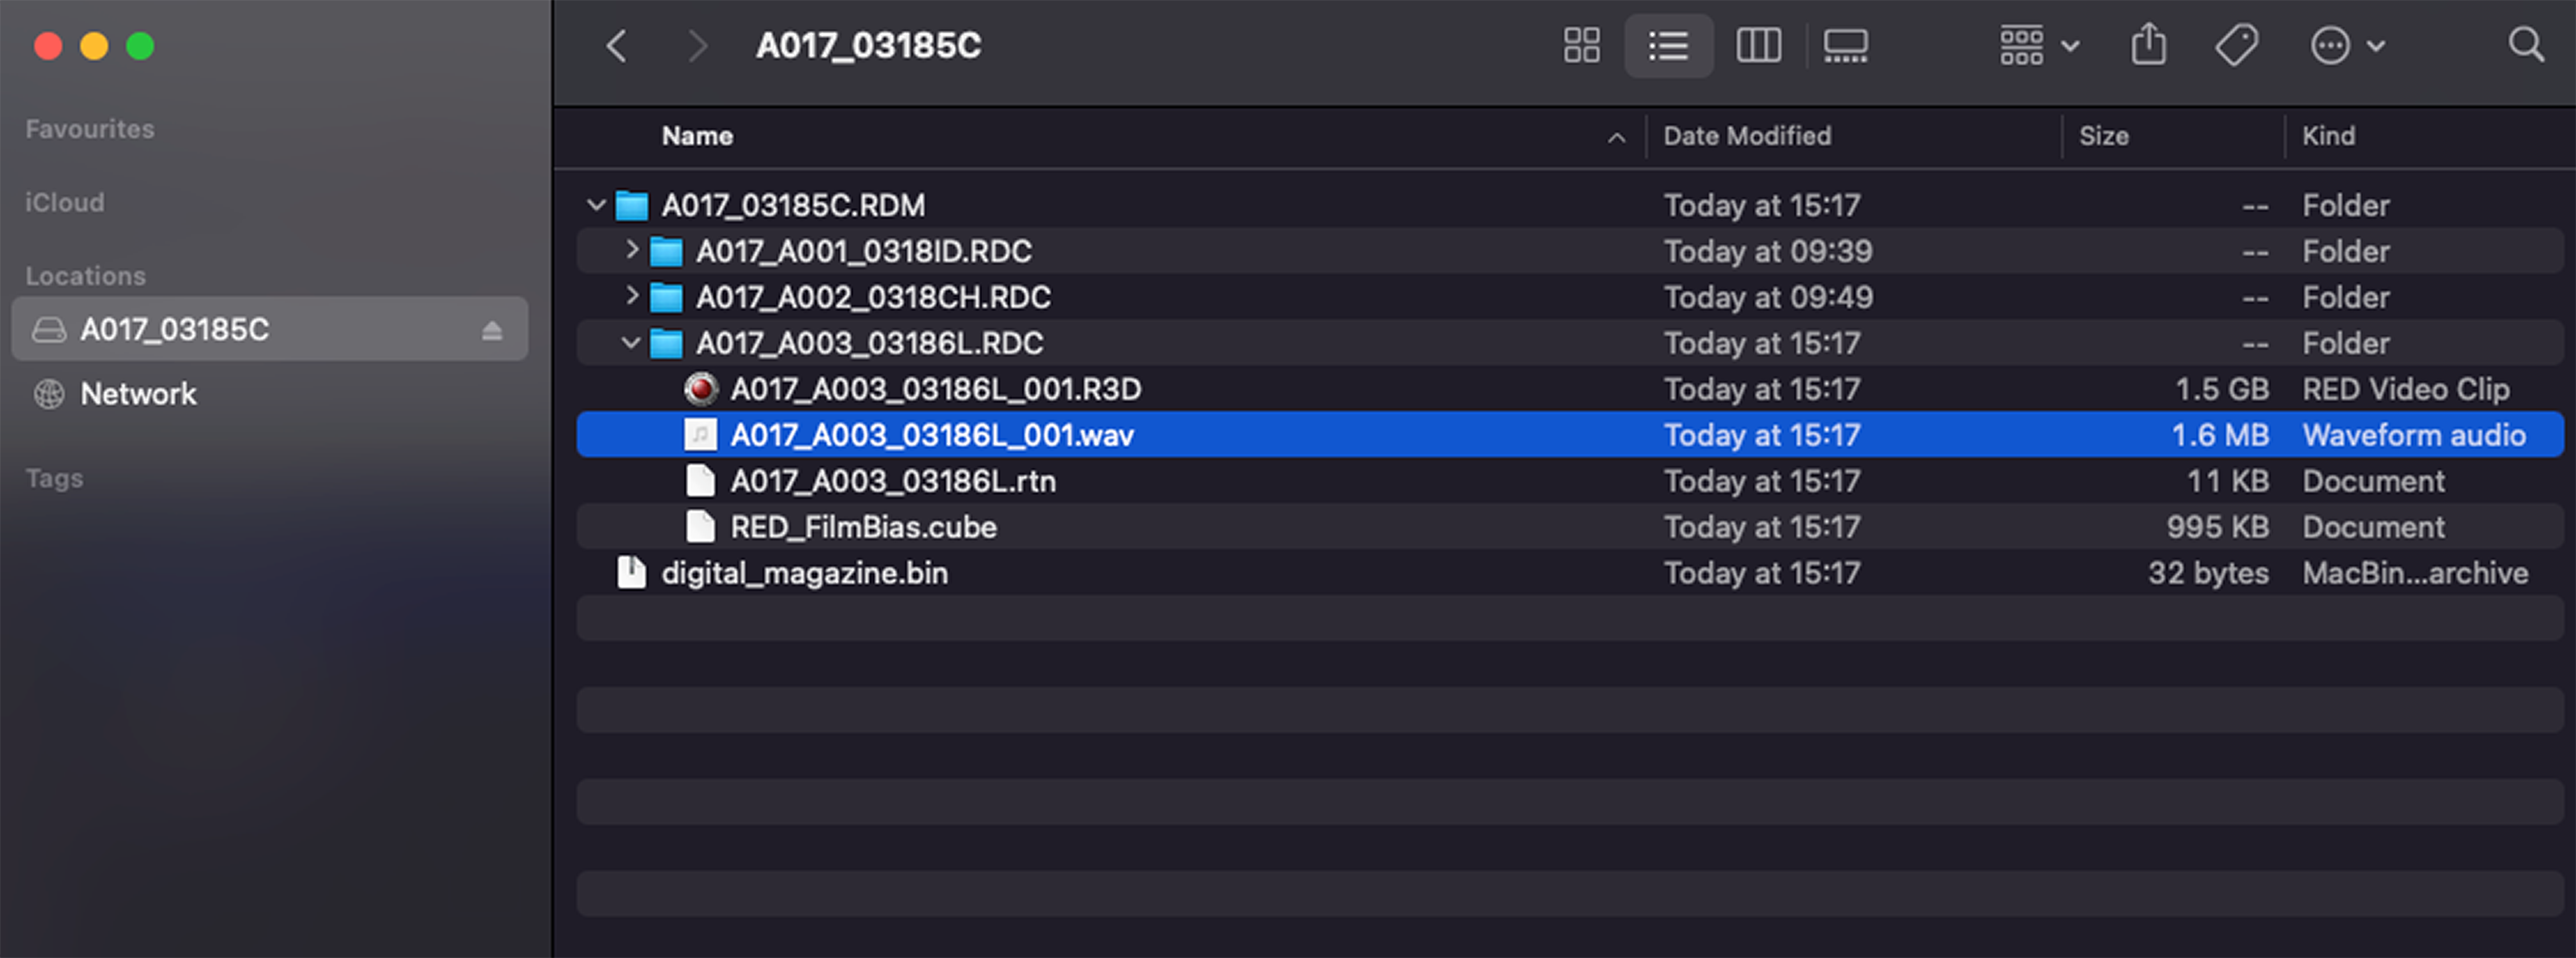
NOTE: The camera records the audio as a separate WAV file and stores it in the clip's RDC folder on the media drive. Audio sync is not guaranteed when shooting varispeed.
Timecode Details
Timecode provides a mechanism to reference frames from the camera's recorded clips to external devices, such as other cameras or audio recorders. Some devices can also gather additional data such as, lens metadata, or camera orientation, which Timecode can later use for merging the data back together in post-processing.
The camera provides two separate Timecode formats:
- Time Of Day (TOD) - The camera records the time of day as the Timecode for each clip
- Edgecode - The camera records elapsed time as the Timecode for each clip. The time is reset to 01:00:00 when a new media card is inserted in the camera. All of the clips on the media will have a continuous Timecode track. However, each new media card will default to a Timecode track starting at 01:00:00. Edgecode is equivalent to RUN RECORD as used on broadcast cameras. You can change the Edgecode to begin at any desired time by using the Media Format menu (refer to Edgecode).
The camera synchronizes (jams) the TOD Timecode to an external Timecode generator (when one is connected to the camera) or it jams the Timecode to its internal real-time clock.
When using Internal TOD, a jam between the running timecode and a real time clock is required. The time at which this jam occurs will have an effect on the overall timecode drift over a 24-hour period due to the nature of non-drop-frame (NDF) timecode. By enabling Auto-Jam, the camera automatically jams its timecode, ensuring repeatable drift across multiple cameras and days.
When Auto Jam is disabled, you can manually pick the instant in which you want to jam timecode to the real time clock.
The camera stores TOD and Edge Timecode in the R3D file. You can select which one you want to display on the side LCD (refer to Timecode Display Mode).