Home Page
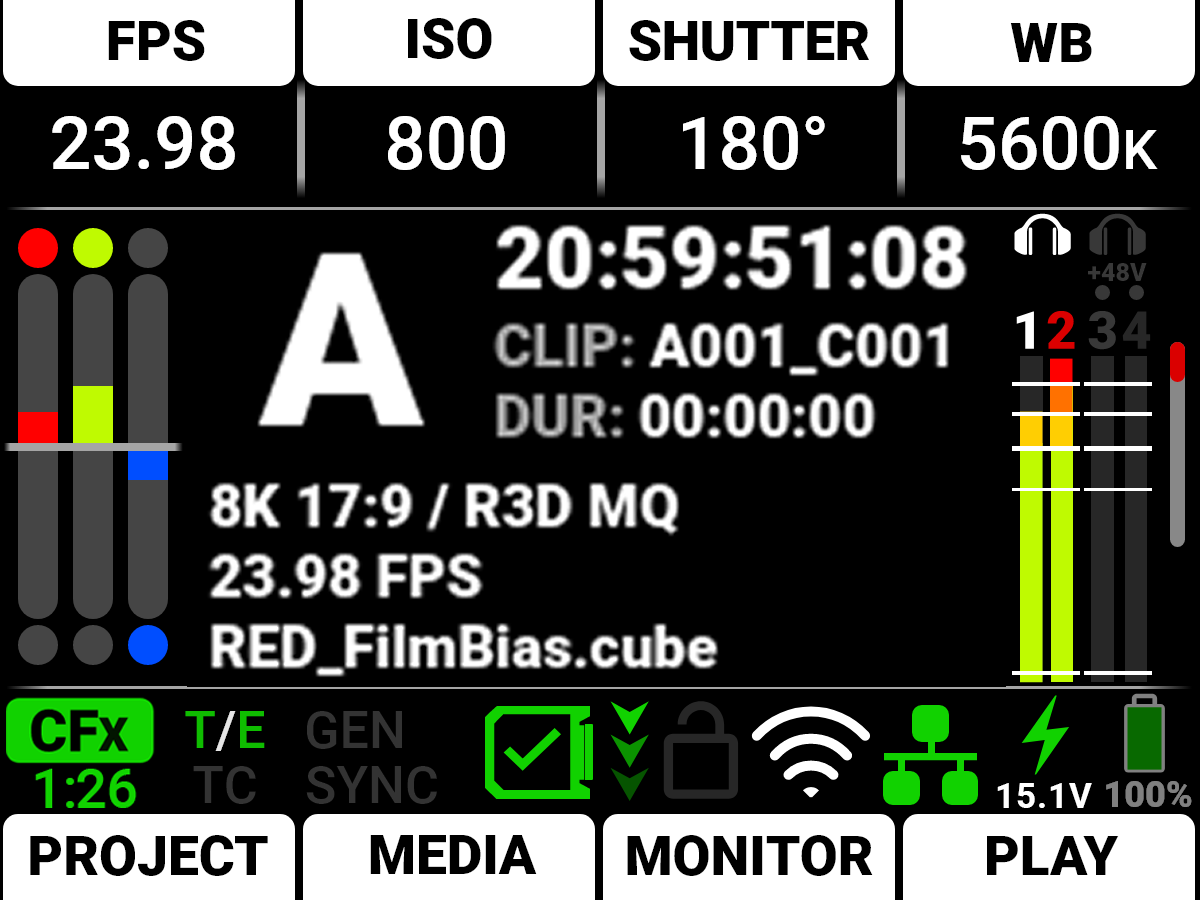
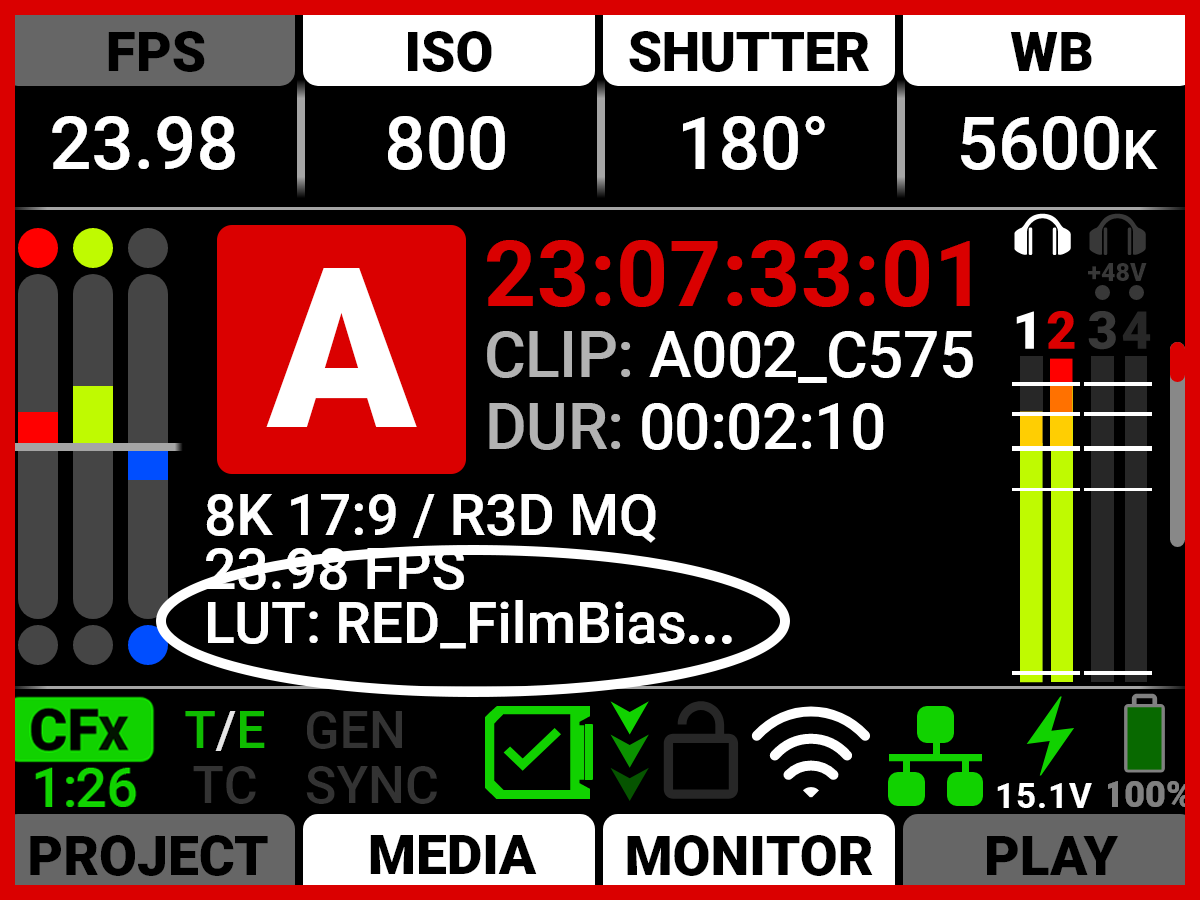
This section describes the Home Page of the LCD GUI. This page contains the Quick Settings, Exposure Meter, Recording Information, VU Meter, Status Bar, and Quick Menus. This is the first page that displays when you power up the camera.
Recording Quick Settings

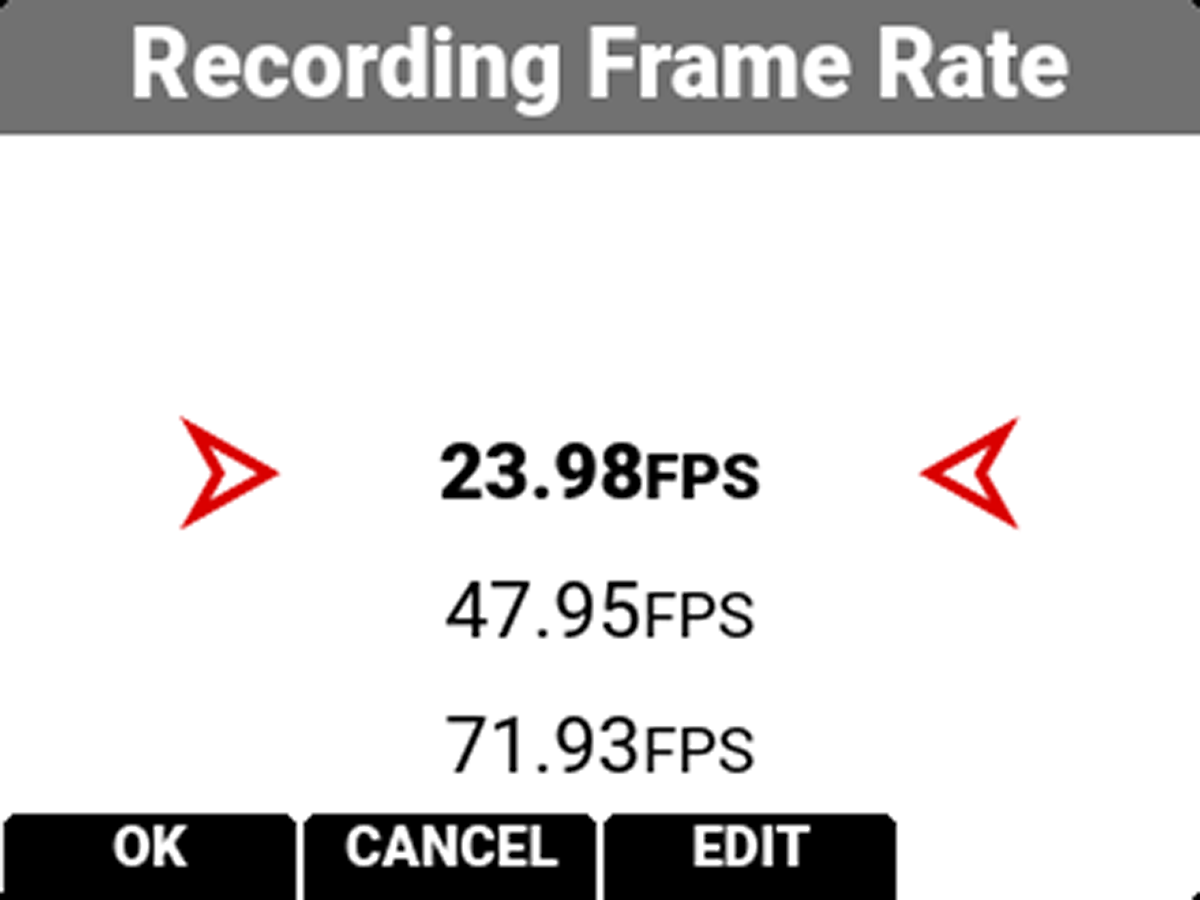
The Recording Quick Settings section of the LCD home page displays the Recording Quick Settings buttons. You can use these buttons to quickly access the most often used camera recording menu settings. These settings include Recording Frame Rate, ISO, Shutter, and White Balance.
|
Press the top buttons to open the menu item lists. Press Up and Down to navigate the list. Press the button under OK or SEL to select the item and return to the Home Page. Press the button under CANCEL or press MENU to return to the Home Page without making any changes. |
Press and hold the button above SHUTTER to toggle the shutter between degrees and fractions (refer to Shutter for more information).
Press and hold White Balance (WB) to toggle between Color Temperature and Color Temperature Presets (refer to White Balance for more information).
RAW RGB Exposure Meter
The Exposure section of the LCD home page displays the RAW RGB (pre-ISO) exposure levels for the camera.
|
Exposure |
Overexposed Example |
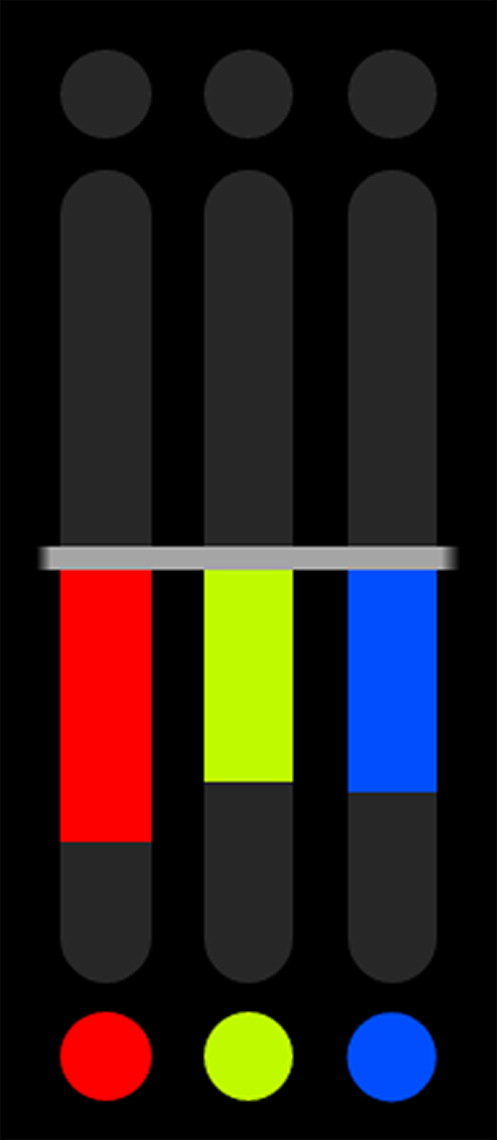
Underexposed Example |
Balanced Example |
|||
|
|

|
|

|
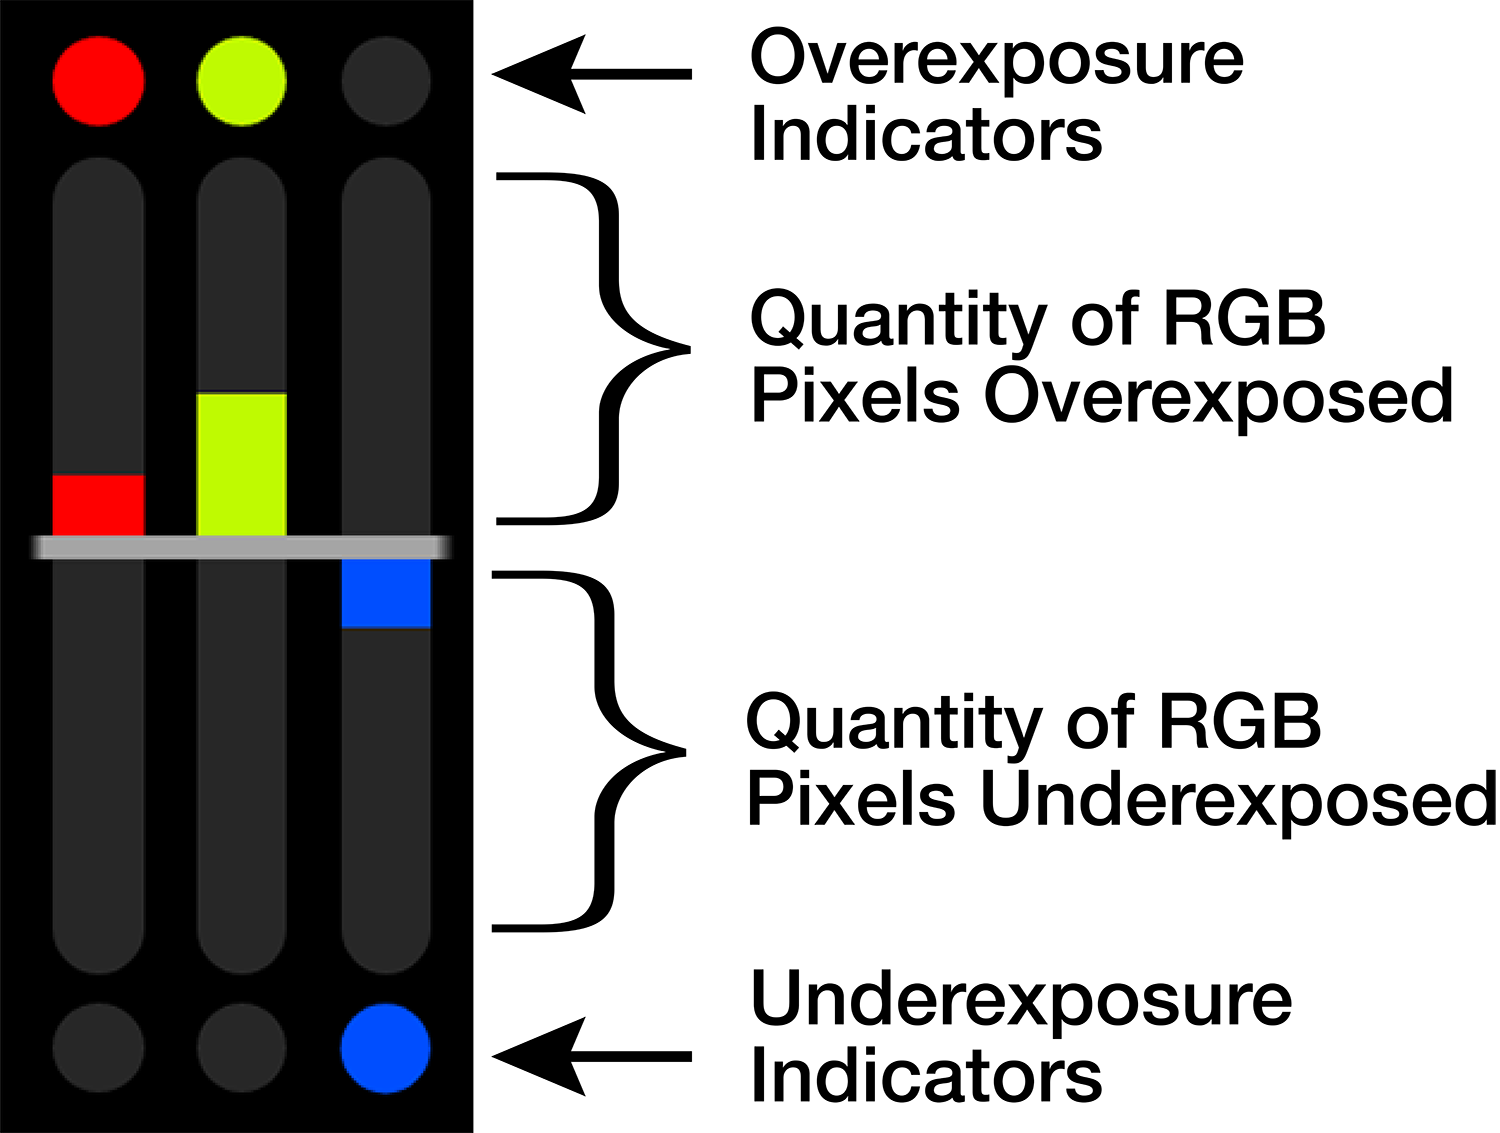
The RAW RGB Exposure Meter displays the quantity of over-exposed or under-exposed pixels in each of the separate red, green, and blue channels of the raw sensor data.
The top and bottom RGB lights illuminate when a small number of pixels on the sensor are overexposed or underexposed. This indicates that a small number of pixels in the image are too bright and will not contain any detail, or are too dark and will appear as noise.
The bars show the quantity of overexposed and underexposed RGB pixels on the sensor. Adjust the settings in the camera such as Iris, or shutter speed to compensate, or change the scene's lighting for the best, balanced image.
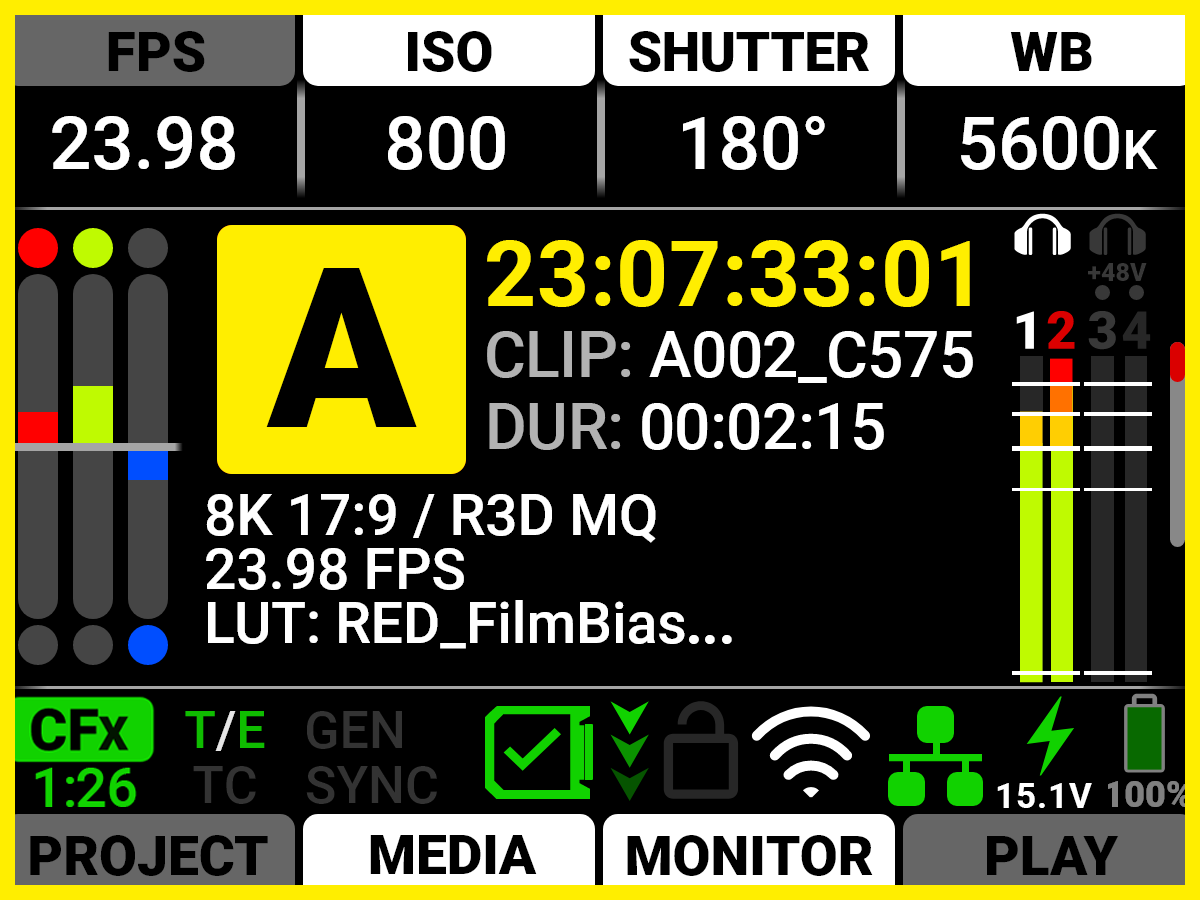
Camera Designation and REC Indicator

The Camera Designation and Record indicator on the LCD home page displays the camera letter assigned to the camera (refer to Slate and Camera ID). The color of this area indicates when the camera recording is ready (black), when the camera is recording (red), and when the recording is stopped and the camera is adding the pre-recording (yellow).
|
Recording: |
Adding Pre-Recording: |
|

|
|
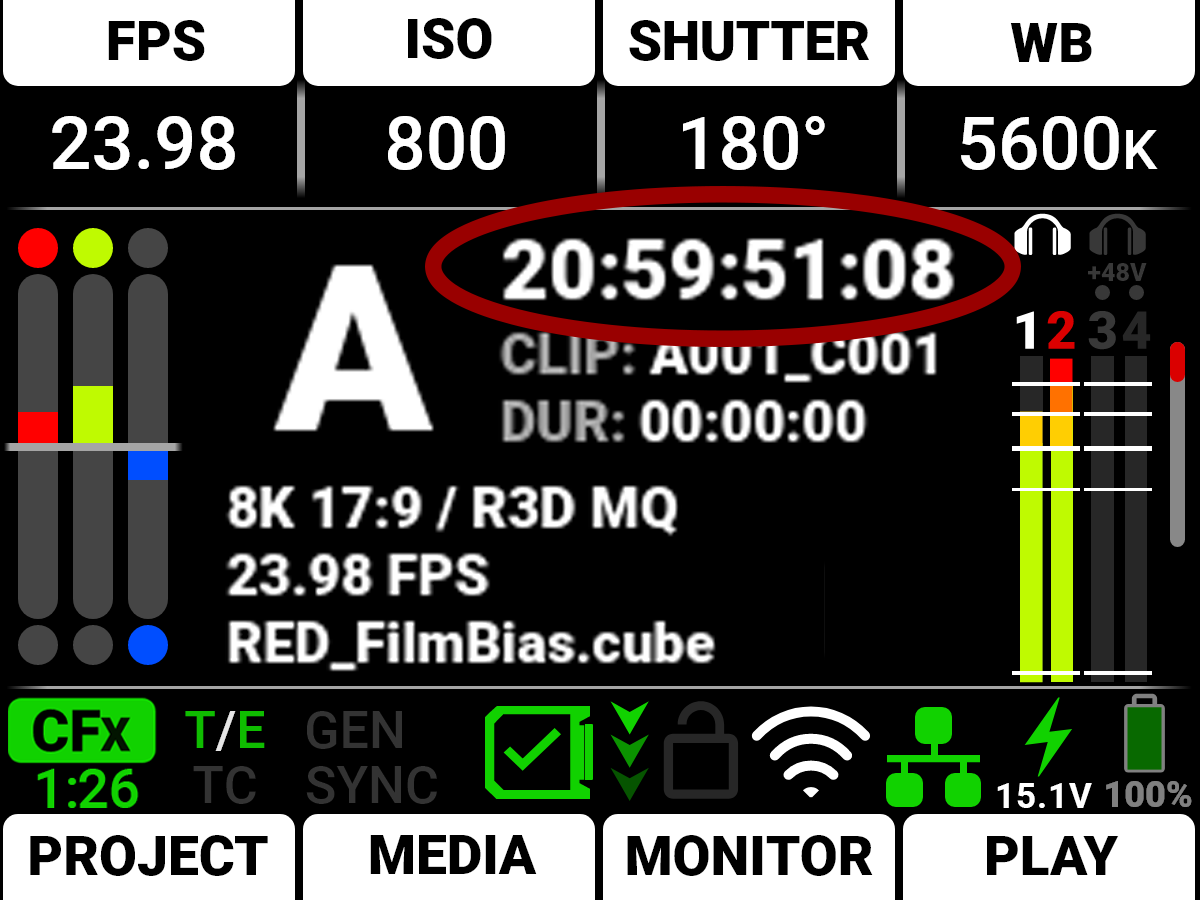
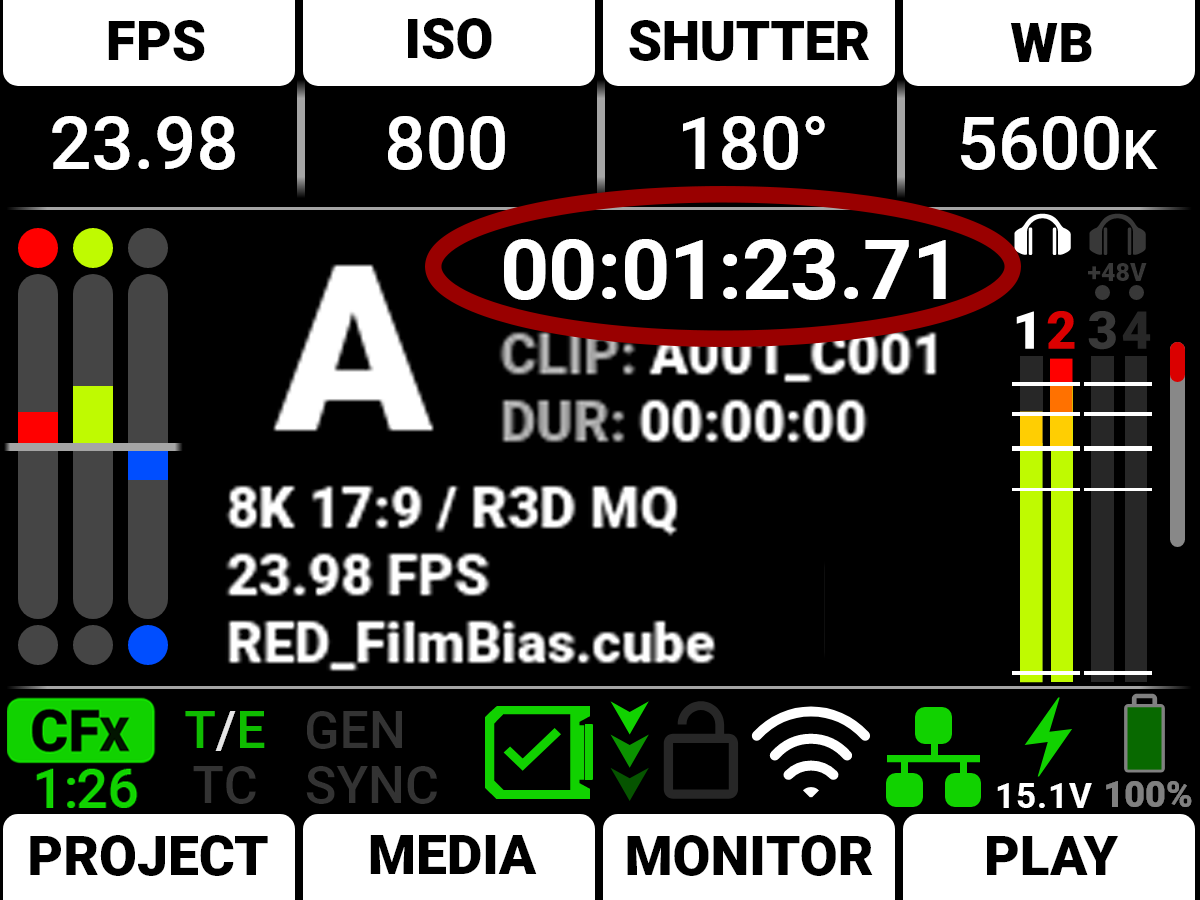
Timecode / Edgecode
The Timecode / Edgecode section displays the timecode or edgecode (refer to Timecode Display Mode).
|
Timecode: |
Edgecode: |
|
|
|
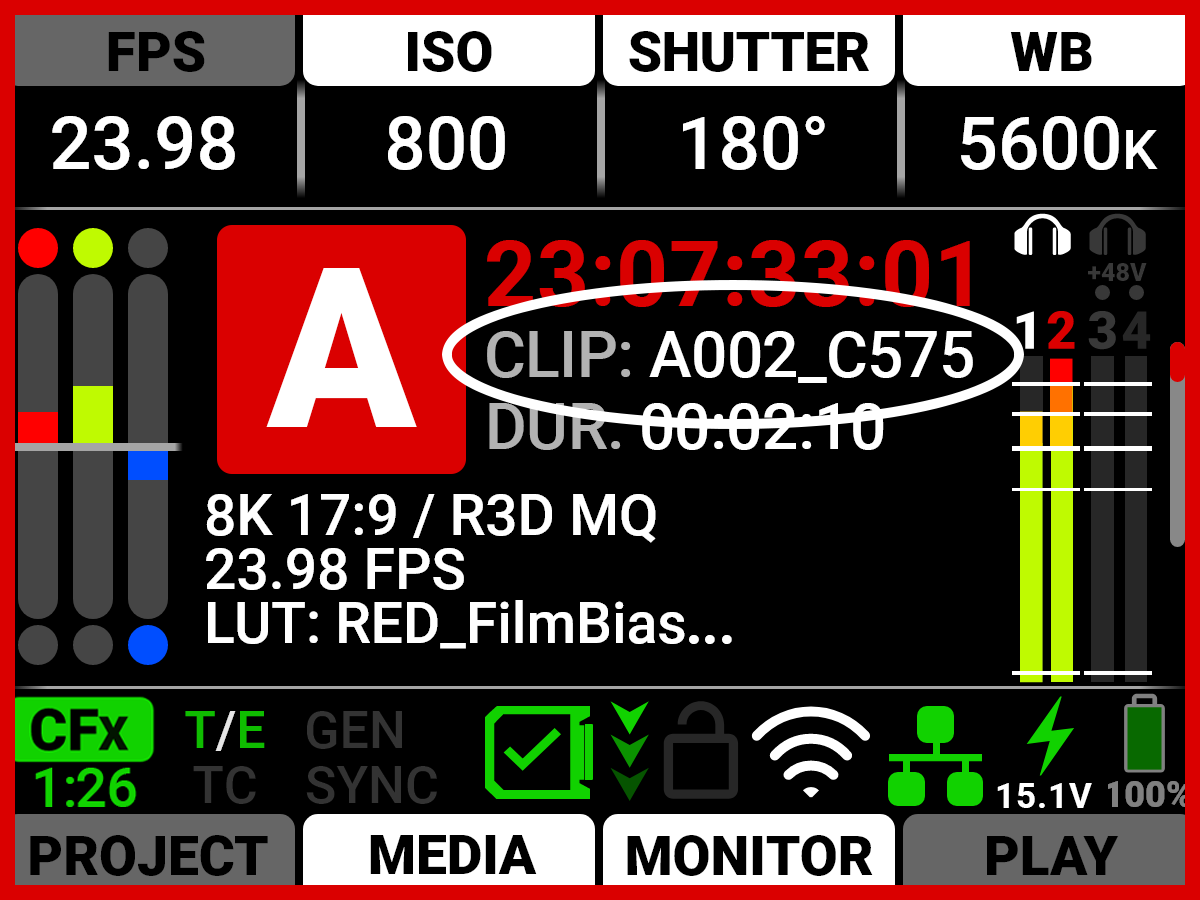
This text turns red when the camera is recording.
Clip
The Clip area displays either the currently recording clip name, or the upcoming clip name designated in the Project Settings menu (refer to Slate).
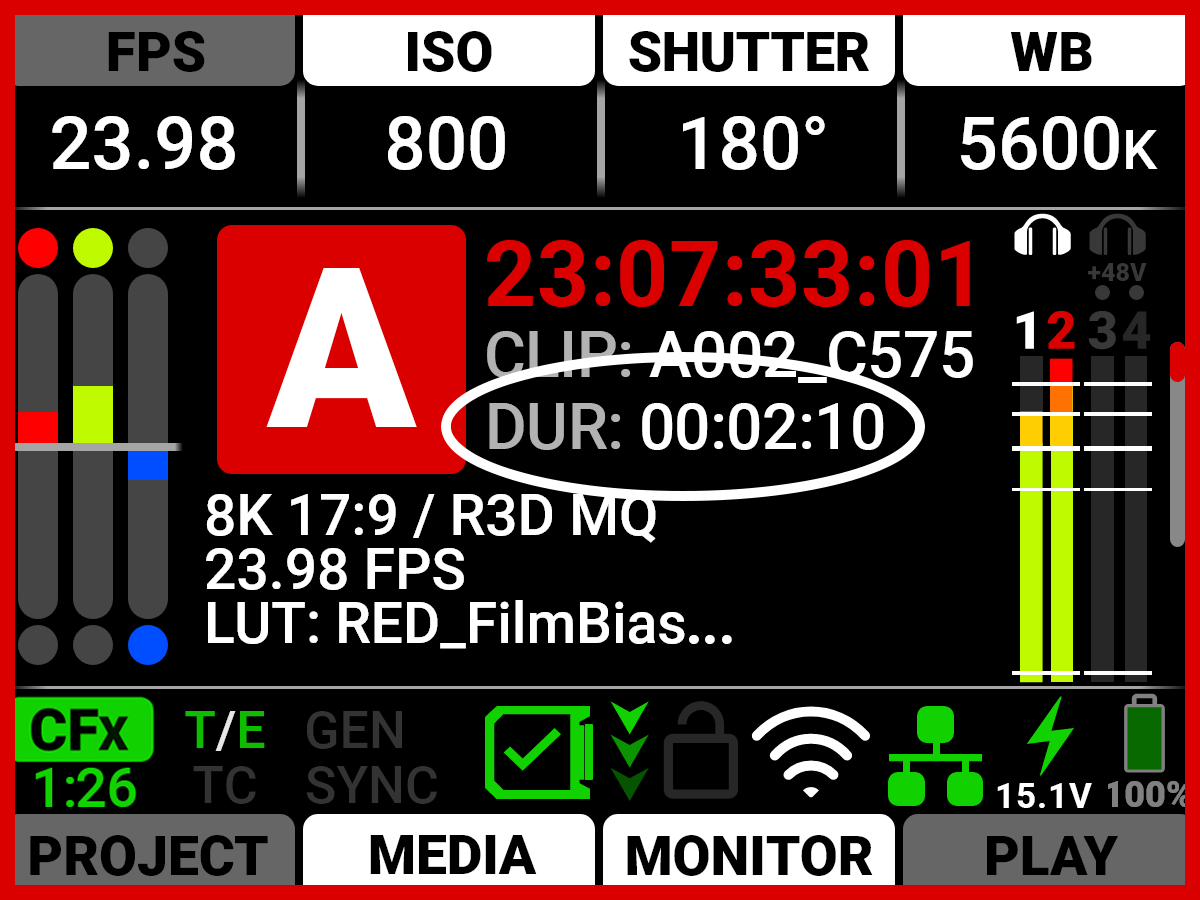
Duration
The Duration area displays the real-time duration of the current clip.
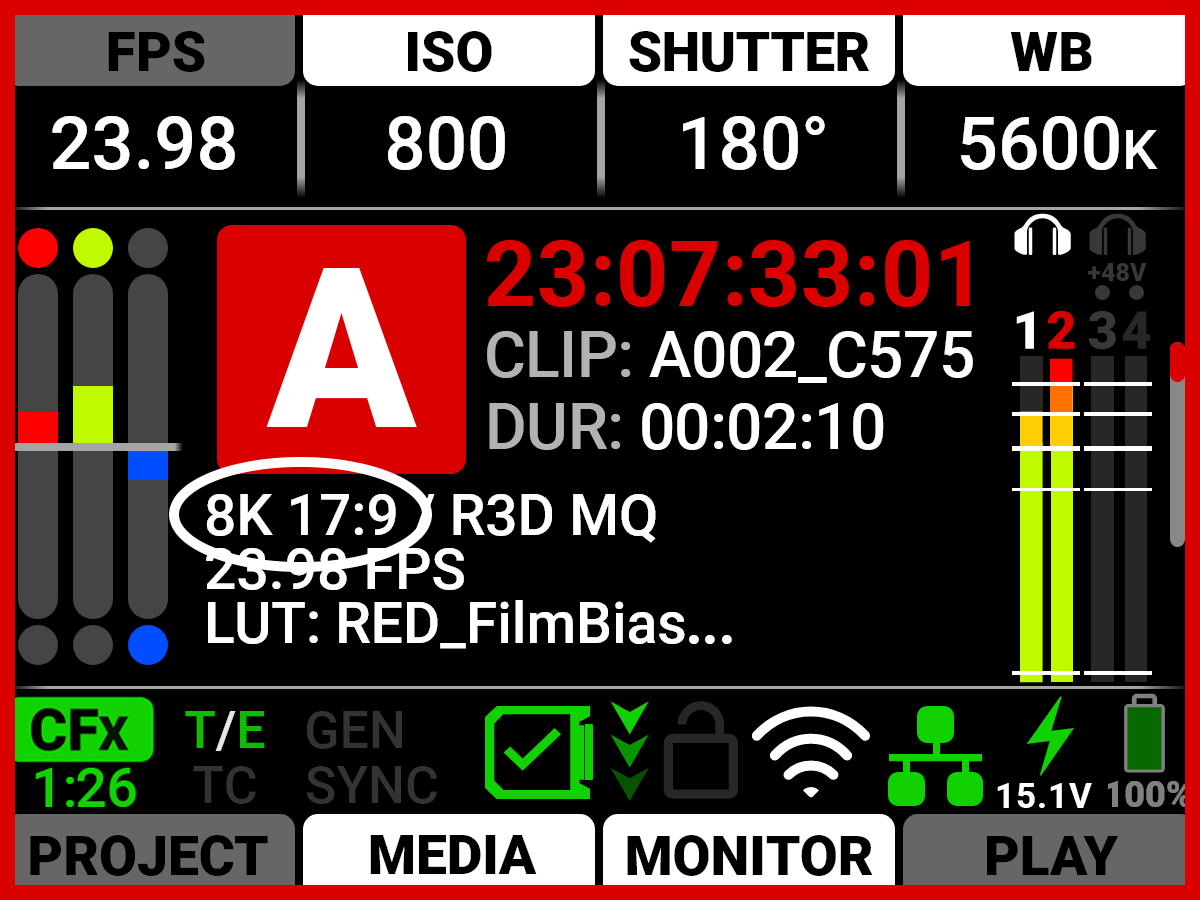
Sensor Format
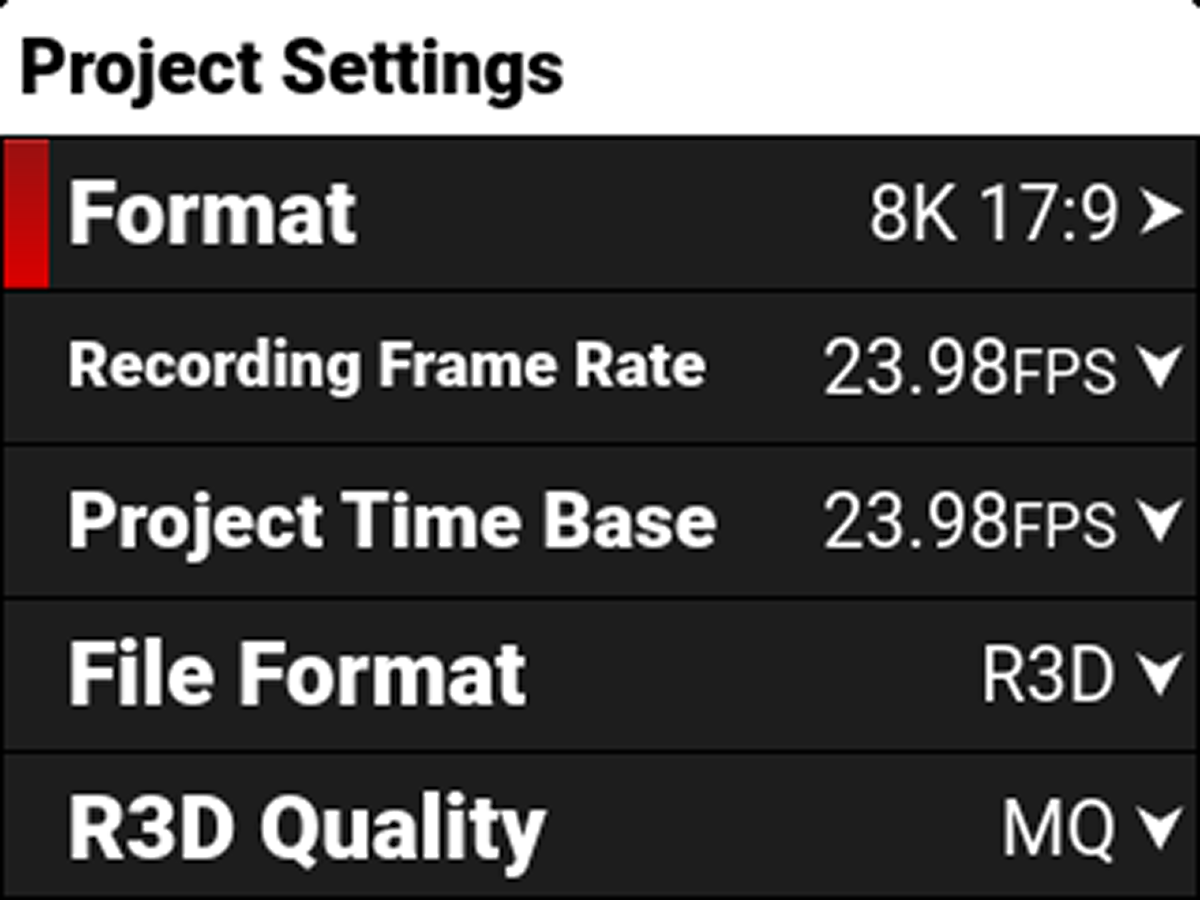
The Sensor Format area displays the sensor format selected in the Project Settings (refer to Format).
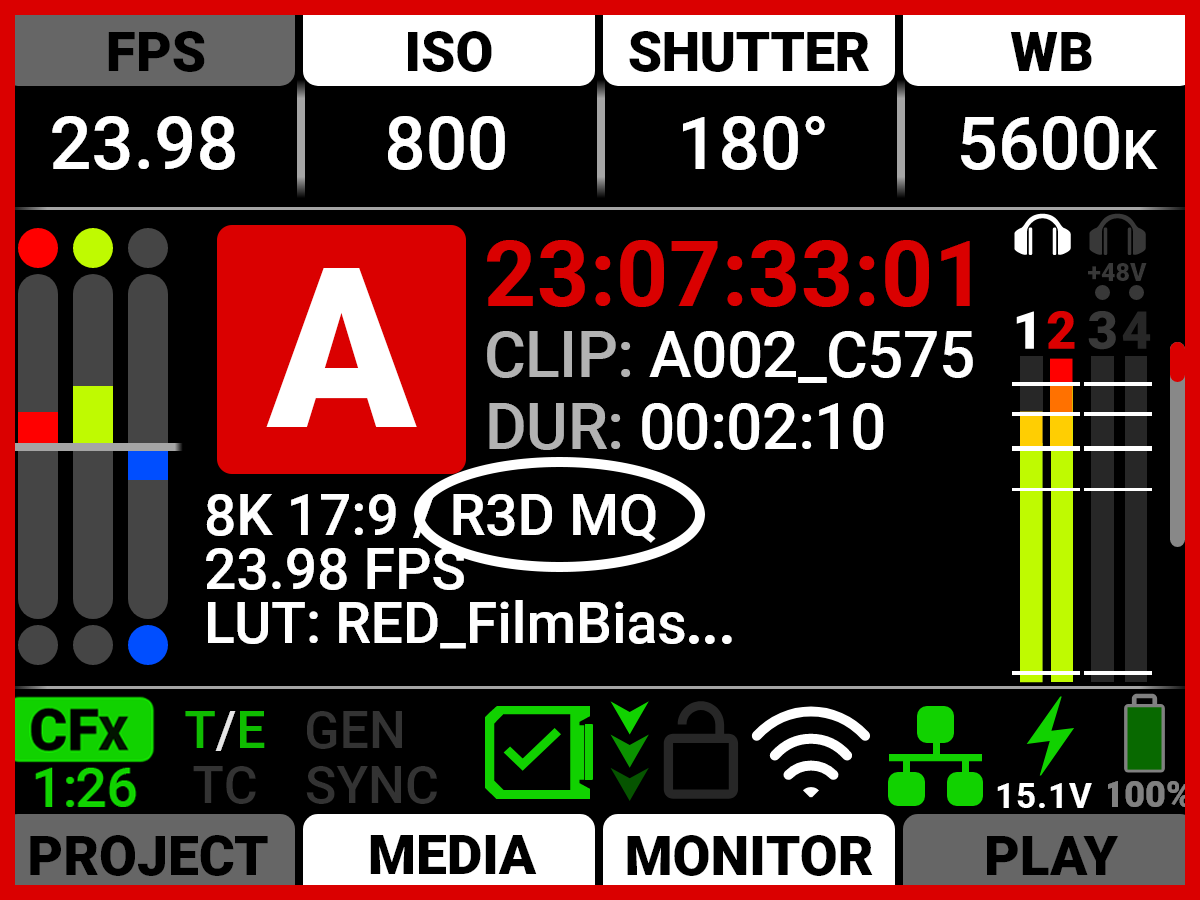
Quality
The Quality area displays the R3D or ProRes compression level (refer to R3D Quality).
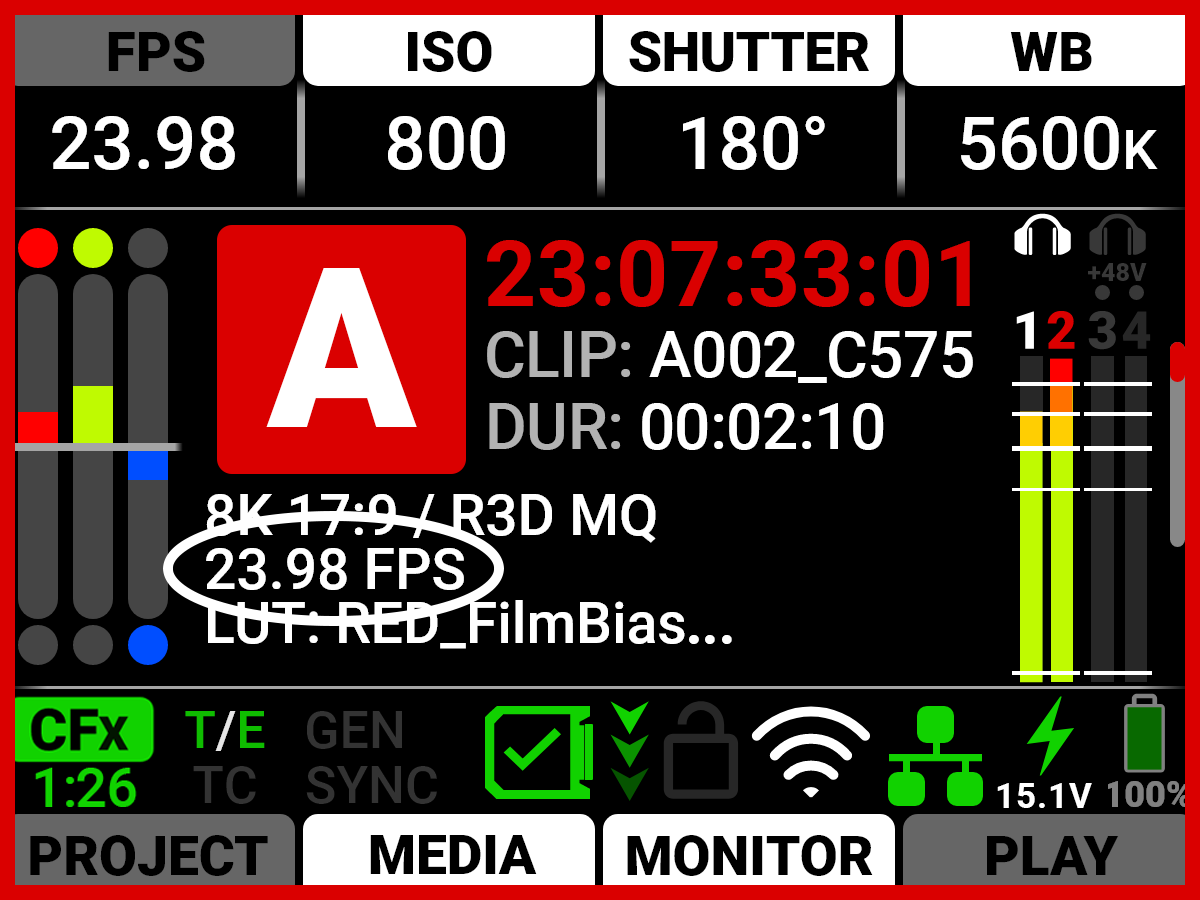
Project Time Base
The Project Time Base area displays the playback rate for the recorded footage selected in the Project Settings (refer to Project Time Base).
3D LUT
The 3D LUT area displays the LUT file selected in the Image / LUT menu (refer to 3D LUT).
Status Bar

The Status Bar contains status icons for various camera settings and inputs.
Quick Menus

The Quick Menus section of the LCD home page displays the Quick Menu buttons. Press and hold the button under MEDIA to quickly eject (unmount) the CFexpress media (Refer to Eject for more information). You can use these buttons to quickly access the most often used camera menus. These settings include Project Settings Menu, Media Menu, Monitoring Menu, and Playback .
|
Press the bottom buttons to open the Quick Menus. Press Up, Down, and SEL to navigate the menus. Press MENU to return to the Home screen. |
Playback
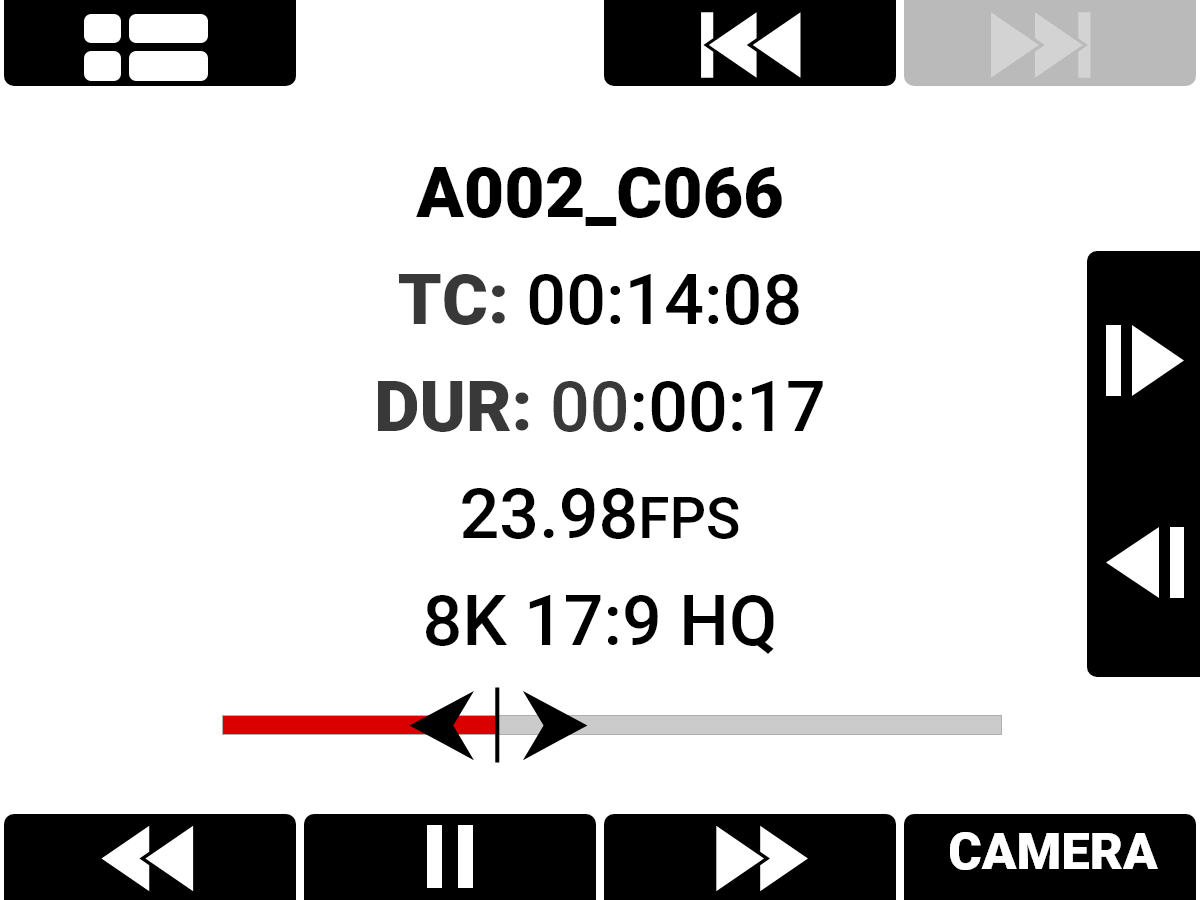
When you press the button below PLAY on the Home Page, the LCD displays the Playback screen.
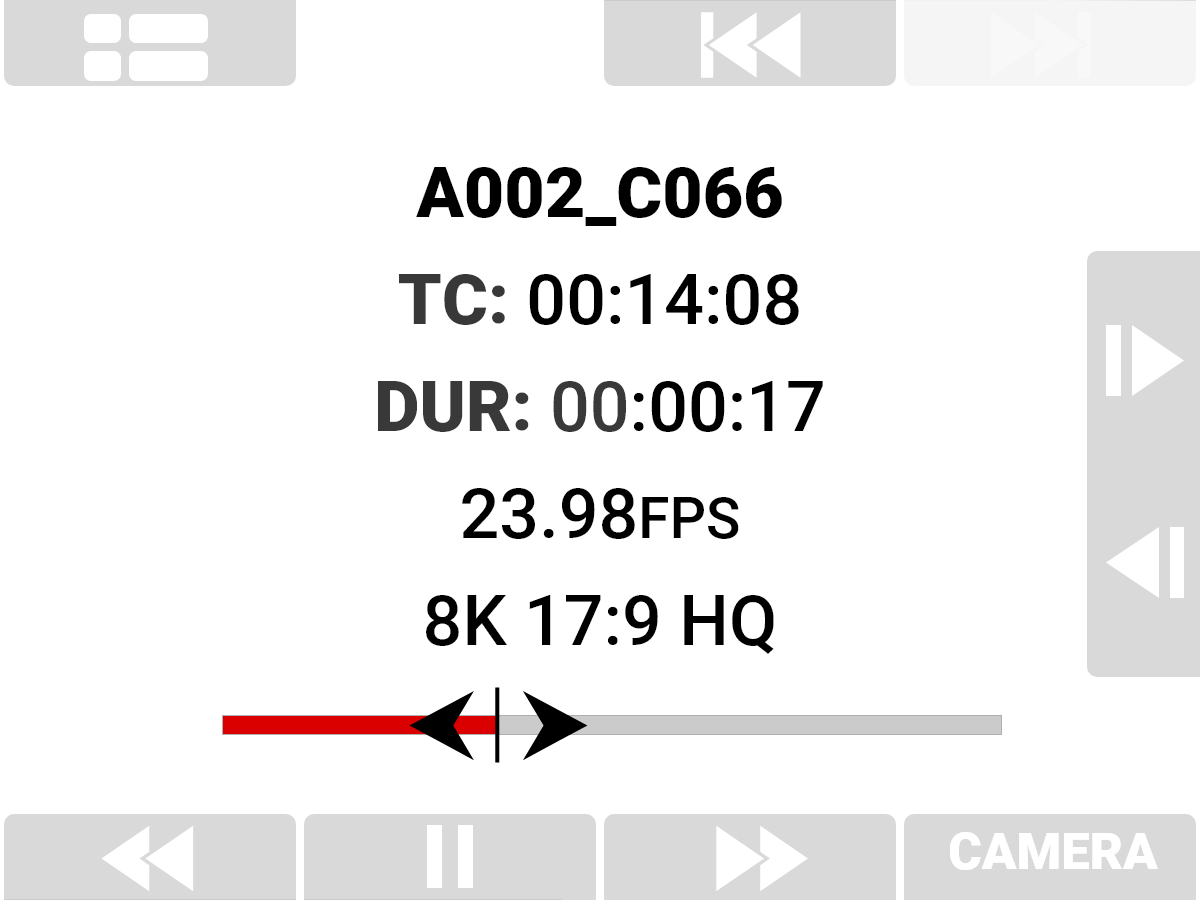
To close the Playback screen, press the button below CAMERA.
Playback Screen
The Playback screen displays the following:
Clip Information
The Clip Information displays the name, Timecode, duration, project time base, format, and timeline of the clip.
Playback Screen Buttons
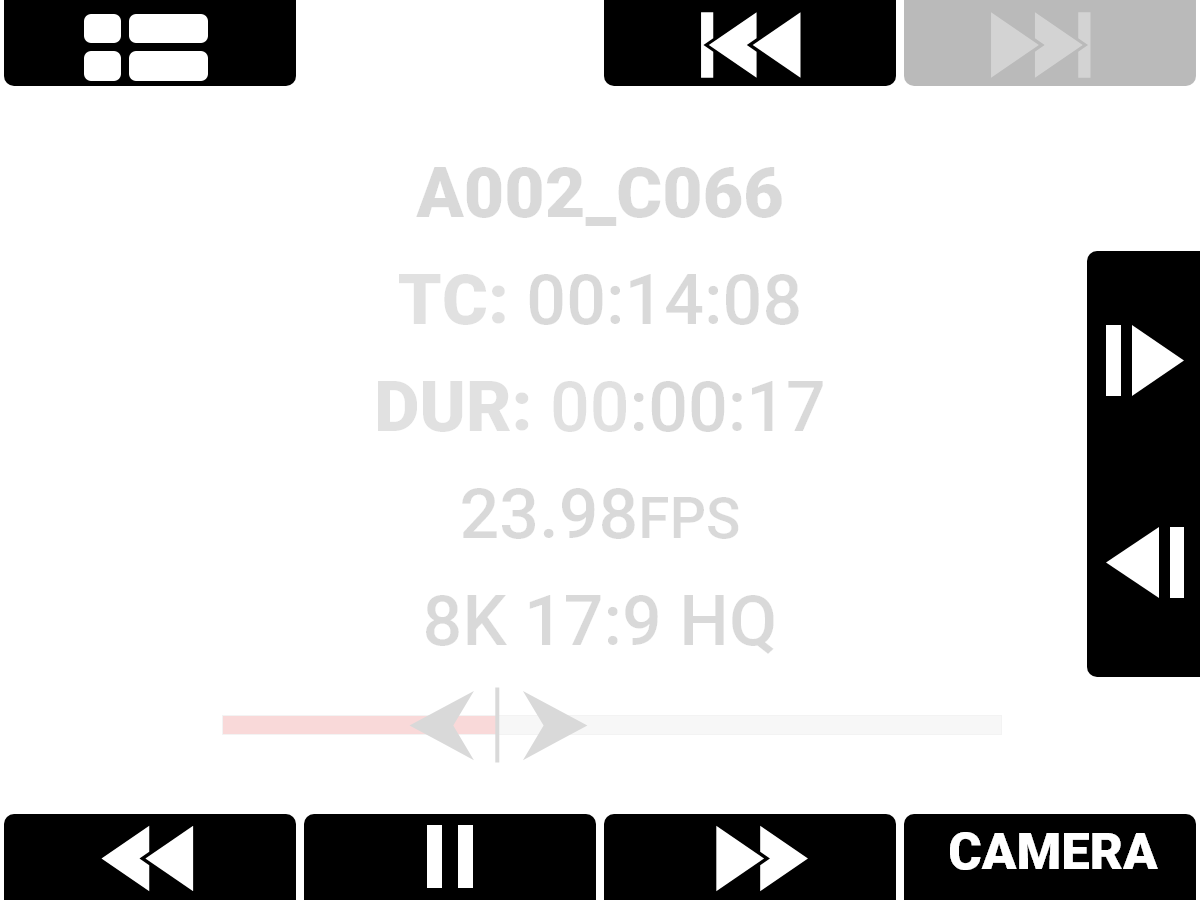
With the Playback screen buttons you can view the Clip list, move to the start of the clip, fast reverse, play/pause, fast forward, and move forward and reverse by a single frame.
Clip List

Press the button over the Clip List to open the Clip Load list.
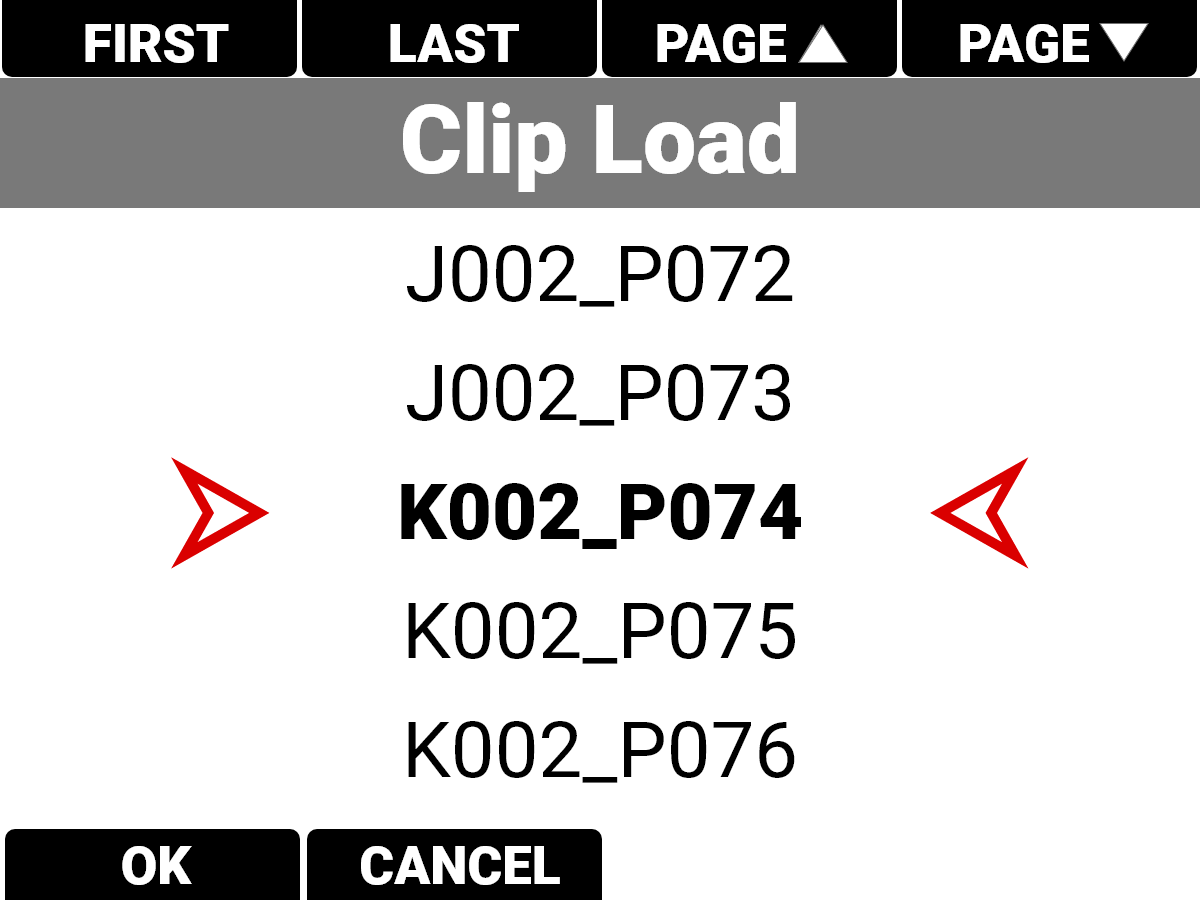
Navigate to the desired clip and press the button under OK to open the clip in the Playback screen.
Start/End

Press the button above the Start or End button to navigate to the start or end of the clip.
Next Previous
 Press the UP arrow to move forward by a single frame and press the DOWN arrow to reverse by a single frame.
Rewind

Press the button below Rewind to quickly navigate backwards through the clip.
Play/Pause


Press the button below Play/Pause to toggle between playing the clip and pausing the clip.
Fast Forward

Press the button below Fast Forward to quickly navigate forward through the clip.
Camera

Press the button below CAMERA to return to the camera interface.